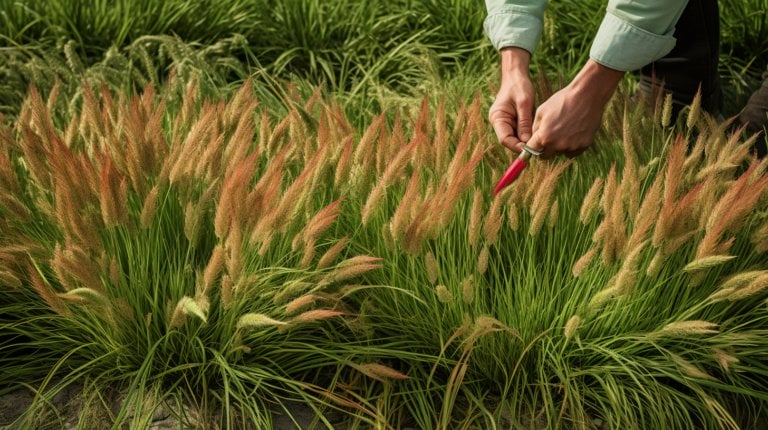
How to Dry Seeds for Planting: Easy & Successful Tips!
My years in the field have taught me that the success of seeding crucially depends on correct drying. As time has passed, I’ve perfected my technique of drying seeds for sowing, and I can’t wait to impart this wisdom to you.
In this article, we’ll explore why it’s critical to dry seeds before planting, how to do it correctly, and how to store them for future use. Let’s dive into these essential steps together, ensuring your garden flourishes year after year.
Key Takeaways
- Drying before planting reduces moisture content and prevents premature development.
- Proper seed drying increases the chances of successful germination and preserves seed usability.
- Seed drying is crucial for successful garden results and contributes to sustainable living and self-sufficiency.
- Harvesting seeds correctly, such as identifying the ideal time for collection and checking for dryness, maximizes seed usability.
Uncover the Secret to Successful Planting: Why Drying Seeds Before Planting is Essential
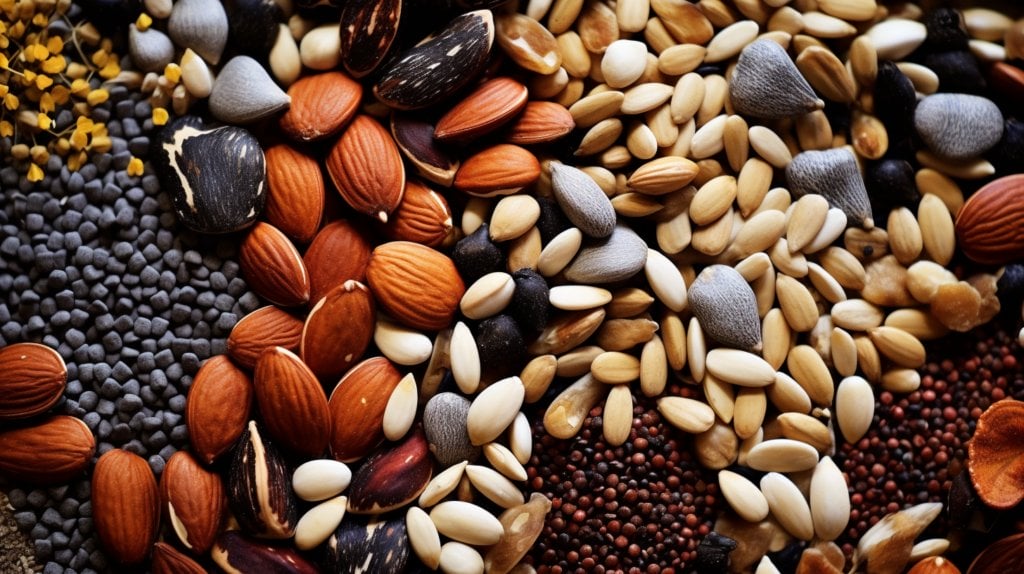
Let’s dive into the fascinating world of seed drying and its pivotal role in successful gardening.
I will share the science behind why we need to dry seeds and how correctly doing it can significantly boost your garden’s productivity.
Moreover, we’ll explore how this simple practice contributes to sustainable living and self-sufficiency, making it a crucial skill for every green thumb.
The Science Behind Seed Drying: Why Seeds Need to be Dried
You’re probably wondering why seeds need to be dried before planting, aren’t you?
Well, the drying process is crucial. Seeds contain a lot of moisture that can cause them to germinate prematurely. Drying a seed reduces its internal moisture content, preventing premature sprouting and increasing the chances of it successfully germinating when planted.
How Proper Seed Drying Contributes to Garden Success
Understanding how proper seed treatment contributes to garden success can take your gardening game to the next level, wouldn’t you agree? It’s a vital step that includes:
1. Drying: This preserves seed usability.
2. Monitoring moisture content: crucial for maintaining germination rates.
3. Ensuring the right conditions for the seed storehouse.
4. Regular checks on kept seeds.
Next, let’s dive into how seed drying relates to sustainable living and self-sufficiency.
The Role of Seed Drying in Sustainable Living and Self-Sufficiency
In sustainable living and self-sufficiency, proper treatment of your future crops plays a pivotal role, don’t you think? Mastering how to dry seeds for planting is key. Seeds need to be dried correctly to ensure successful growth.
| Seed Drying Method | Mastery Level |
| Rinse & Air Dry | Beginner |
| Use Silica Gel Packets | Intermediate |
| Heated Enclosure (controlled) | Expert |
Step One to Seed Storage: Harvesting Your Seeds Correctly
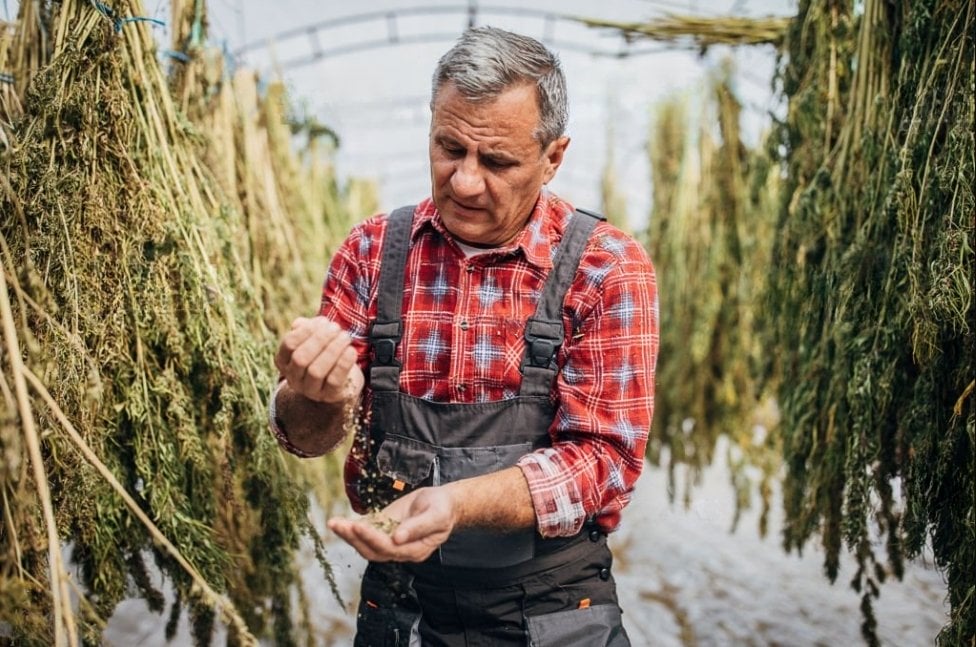
In this discussion, I will delve into the first crucial step of the seed storehouse- reaping your seeds correctly.
We’ll explore how to pinpoint the optimal time for seed collection, discuss various techniques tailored for reaping different flower seeds, and even share some handy tips on preserving wet seeds until they’re dry.
It’s a topic that’s often overlooked but essential if you want to maximize seed usability and achieve successful planting results.
Deciding When to Harvest: Identifying the Ideal Time to Collect Seeds
Identifying the right time for seed collection is crucial, usually when they’re fully mature and dry. Deciding when to reap seeds from your garden involves four key steps:
1. Observe the color of your seed pods.
2. Shake them gently to check if the seeds rattle.
3. Check the dryness of seeds.
4. Finally, the ideal time to collect seeds is when they easily detach.
Through careful observation, you can master this skill and ensure a successful harvest.
Methods for Harvesting Different Types of Flower Seeds
Harvesting methods can vary greatly depending on the type of flower you’re dealing with, so it’s important to understand these differences. For seed saving, here’s a quick guide:
| Flower Type | Harvesting Method |
| Sunflower | Seeds need time to dry on plant |
| Marigold | Collect seeds when petals are dry |
| Poppy | Reaping after pods have dried |
| Zinnia | Pluck seeds from the base of the petal |
Next, look at tips for keeping wet seeds safe until drying.
Tips for Keeping Wet Seeds Safe Until Drying
You’ll want to take care when handling damp flower kernels, ensuring they’re kept safe and viable until they’ve fully desiccated. Here’s my four-step process:
1. Keep wet seeds in a cool, dark place.
2. Let them dry naturally without rushing the process.
3. Keep them in an airtight container with gel to absorb excess moisture.
4. Regularly check for any signs of mold or decay.
Now that you’re prepared, let’s master the art of drying: the necessary tools and techniques!
Mastering the Art of Drying Seeds Before Planting: Tools and Techniques You Need
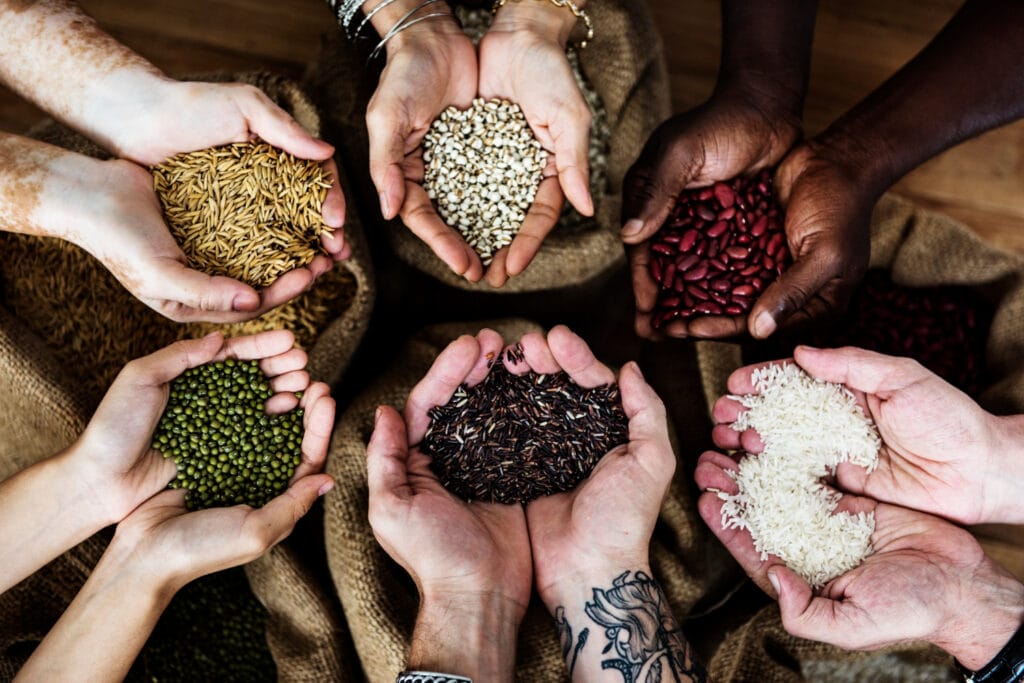
I’m excited to delve into some effective techniques for seed drying, a crucial step after harvesting.
We’ll explore using a dehydrator for quick and efficient seed drying, understand gel’s significant role in this process, and debate over using direct sunlight – weighing its pros against its cons.
Using a Dehydrator for Speedy Seed Drying
Using this can significantly speed up the seed-drying process. Here’s how I do it:
1. Set it to its lowest setting.
2. Spread the seeds out evenly on the trays.
3. Check them frequently to avoid overheating.
4. Once they’re dry, keep them properly for planting.
It’s an efficient method for speedy seed drying. However, another tool worth considering is gel. Let’s delve into its role in seed drying next.
The Role of Silica Gel in Seed Drying
While a dehydrator speeds up seed drying, I’ve also discovered the effectiveness of this gel. It’s an excellent desiccant that ensures seeds must be dried thoroughly for optimal storage conditions. Here’s a handy table:
| Desiccant | Use in Seed Drying |
| Silica Gel | Absorbs moisture, preventing mold growth |
| Clay Desiccants | Also absorbs moisture but is less effective than silica gel |
| Calcium Sulfate | Least effective; needs heat activation |
| None (air drying) | Depends on environmental humidity; least controlled method |
I’ll delve into this gel’s role in the next section.
Relying on Direct Sun: The Pros and Cons
Let’s consider the pros and cons of relying on direct sun for this process.
1. Pros: Direct sun can effectively desiccate seeds for planting. It’s a natural, cost-effective method.
2. Cons: Overexposure may damage seeds before they’re dry.
3. Monitoring is essential to ensure seeds are dry without being overexposed.
4. When relying on direct sun to dry your seeds, you’re at the mercy of weather conditions.
Ensuring a Greener Future: How to Store Seeds after Drying
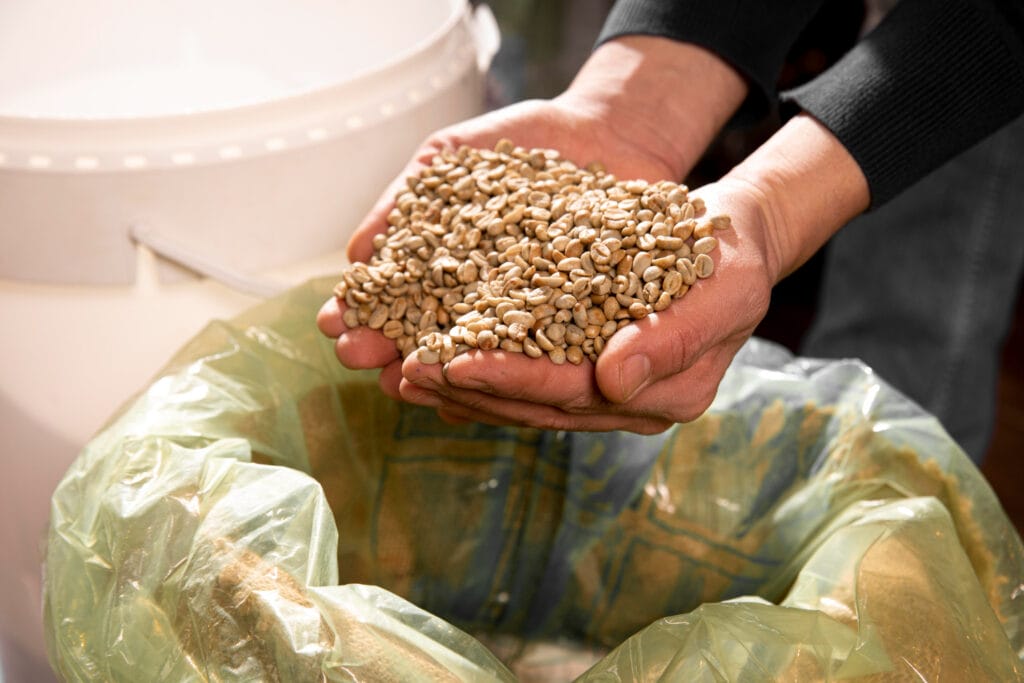
I’m eager to delve into the topic of seed storage, an essential step in ensuring a greener future.
We’ll sift through the details of optimal conditions for storage – temperature, humidity, and more.
Additionally, we’ll discuss easy solutions like the Paper Bag Method and gain clarity on how long seeds can be kept by understanding seed usability.
Optimal Conditions for Seed Storage: Temperature, Humidity, and More
You must consider the right temperature, humidity levels, and other factors to keep your seeds optimal. Here are my tips:
1. Keep seeds in an airtight container.
2. Keep them at an ideal temperature of 32-41°F.
3. Maintain low humidity levels; below 50% is preferable.
4. Choose a dry place that’s dark and cool.
Master these conditions, and you’re on the path to successful storage!
The Paper Bag Method: A Simple Solution for Seed Storage
After understanding the optimal storage conditions, let’s explore a practical method – using a paper bag.
I prefer this approach to save seeds as it provides an ideal dry environment for storage. You simply store your desiccated seeds in a paper bag, and they’re ready for next season!
But how long can you store these seeds?
Let’s delve into understanding seed usability next.
How Long Can You Store Seeds? Understanding Seed Viability
It’s crucial to comprehend the lifespan of your harvested gems to ensure successful future growth. To maximize seed viability, remember these steps:
1. Desiccated seeds for planting immediately after reaping.
2. Keep seeds in a cool, dry place.
3. Use seed packets for organization and tracking.
4. Seeds remain viable longer when stored properly.
With this knowledge, you’re ready to disperse: planting your dried and stored seeds is next!
Can I Use the Same Method to Plant Spaghetti Squash Seeds as I Would for Other Vegetable Seeds?
Yes, you can grow spaghetti squash seeds from home using the same method as other vegetable seeds. Plant them 1-2 inches deep, with 3-4 seeds in each hole, and space them about 4-6 feet apart. Ensure good soil moisture and provide support as the vines grow.
Ready to Sow: Planting Your Dried and Stored Seeds
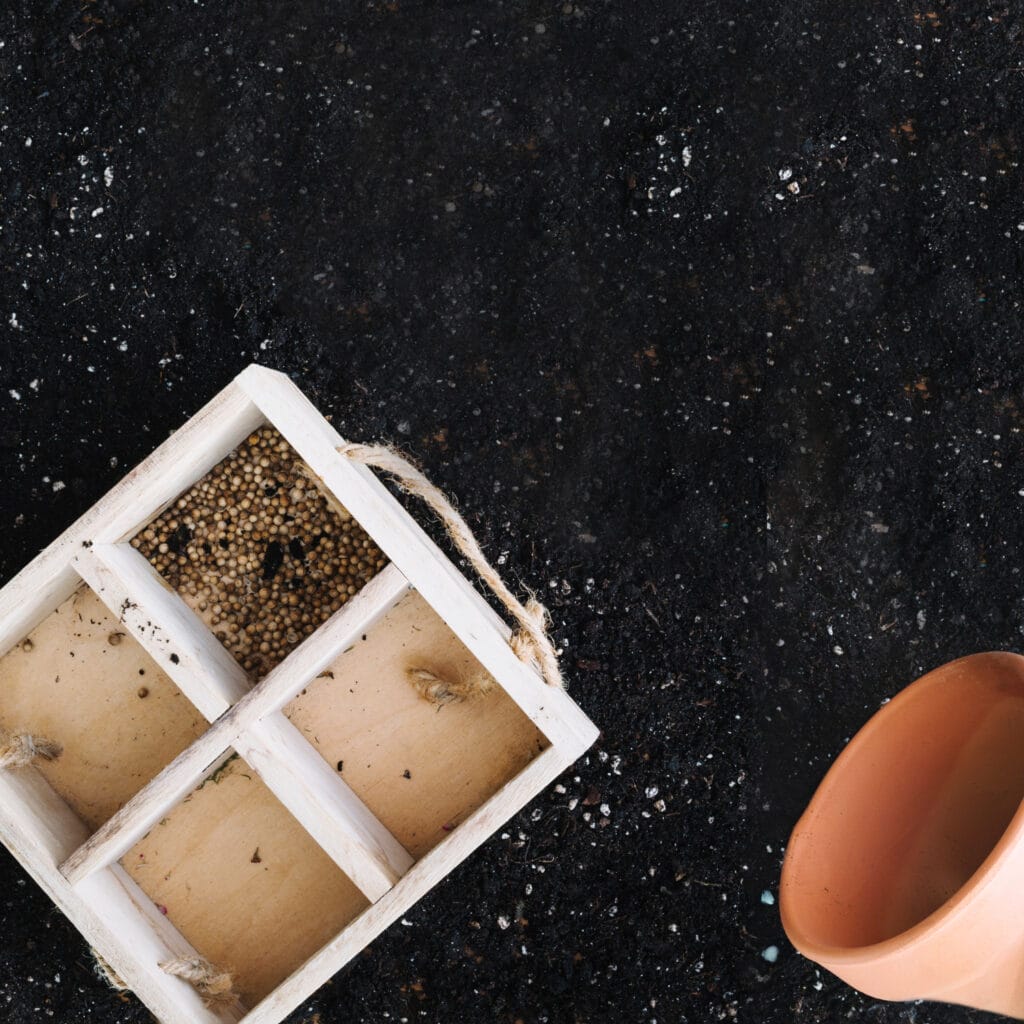
Now that we’ve dried and stored our seeds, it’s time to get them into the ground.
I will walk you through preparing your garden for planting, sharing tips for successful sowing, and helping you understand how germination works so you can encourage those stored seeds to sprout.
We’ll also delve into caring for your planted seeds with proper watering practices, understanding sunlight requirements, and exploring other seed care aspects beyond these basics.
Preparing Your Garden for Planting: Tips for Successful Sowing
You’ll find that properly preparing your garden can significantly increase the success of your seed sowing. Here’s what I do:
1. I prepare my garden soil with organic matter.
2. Then, I create a sow-friendly environment considering what seeds are like.
3. Next, I plant the seeds at just the right depth for each type of seedling.
4. Finally, I keep my garden well-watered and weed-free to aid growth.
These tips can help you succeed in preparing your garden for planting!
Understanding Germination: How to Encourage Stored Seeds to Sprout
Understanding how to encourage your stored stock to sprout is crucial in germination. To ensure a seed germinates, it must be properly dried before planting, breaking dormancy. Seeds require specific conditions for this process: moisture, oxygen, and optimal temperature.
Once sprouted, they’ll need diligent care. So now, let’s focus on caring for your planted seeds: watering, sunlight, and beyond.
Caring for Your Planted Seeds: Watering, Sunlight, and Beyond
Providing the right amount of water and sunlight to your sprouted plants for healthy growth is vital. As a gardener, you can’t underestimate these factors.
Here are the essentials:
1. Watering: Avoid over or under-watering.
2. Sunlight: Ensure enough daily exposure.
3. Annual Care: Regularly monitor plant health.
4. Adaptation: Adjust care as the plant matures.
Frequently Asked Questions
What Type of Seeds Require Drying Before Planting?
It’s important to know that almost all types of seeds, like tomato, cucumber, or sunflower, require drying. I usually dry mine to enhance their germination and longevity for the best possible growth.
How Long Do You Need to Dry Seeds Before They Are Ready for Planting?
In my experience, the duration to dry seeds before planting can vary. It’s typically about one to two weeks, depending on the seed type and the conditions in which they’re dried.
Can You Plant Seeds Without Drying Them First? What Are the Potential Risks?
Yes, I can plant seeds without drying them first. However, mold growth or seed decay is risky if they’re too moist. Drying seeds ensures they’re in optimal condition for germination and growth.
Can All Types of Seeds Be Stored After Drying? Are There Any Exceptions?
Yes, most seeds can be stored after drying. However, exceptions, like avocado and citrus seeds, don’t store well because they lose viability quickly when dried. Always research specific needs for each type.
What Happens if You Do Not Store Your Dried Seeds Correctly? What Are the Possible Consequences?
If you don’t store dried seeds correctly, they can spoil or become infested with pests. You’ll likely see a significant decrease in germination success, too. Proper storage is crucial for maintaining seed viability.
Conclusion
So, there you have it! I’ve walked you through the essential steps of harvesting, drying, storing, and planting seeds.
It’s a simple process that can make a big difference in your gardening success. Remember, patience is key here.
Happy planting!

