Have you ever wondered how a simple seed can turn into a natural sponge? Learning how to plant luffa seeds opens up a world of gardening fun and creativity! Not only can you grow your own loofah sponge, which is great for scrubbing and cleaning, but you’ll also discover the fascinating life cycle of this unique gourd. Planting luffa seeds is exciting, but if you don’t know the right steps, you might miss out on this rewarding experience.
In this article, we’ll explore the importance of choosing the right seeds and the best conditions for them to thrive. You’ll learn when to plant your seeds, how to care for them, and even the best time to harvest your loofahs. Get ready to dig in and grow your own fibrous sponges, while enjoying the amazing journey from seed to sponge! Let’s get started!
Understanding the Loofah Plant: A Versatile Garden Gourd
What Makes Luffa Seeds Different from Other Garden Varieties?
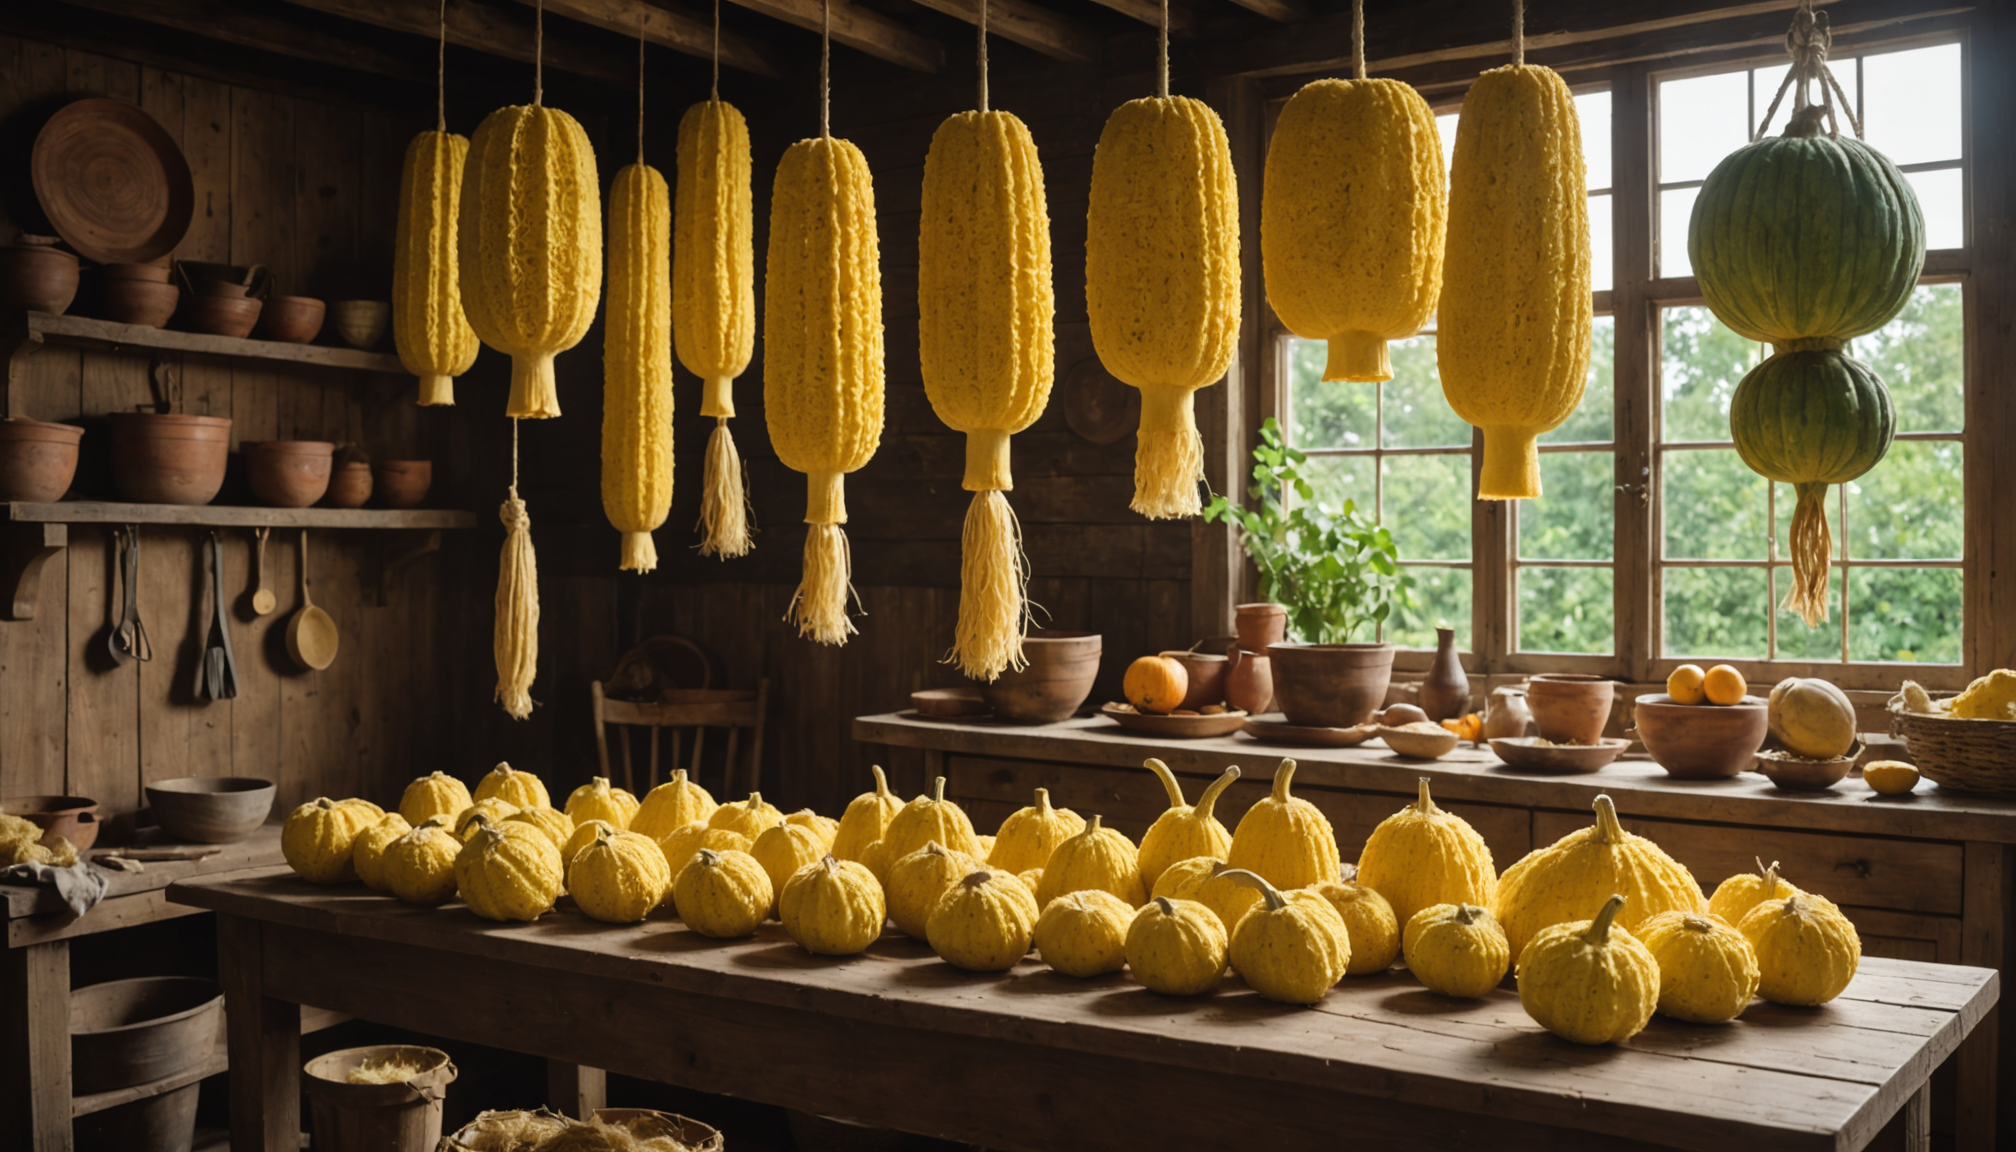
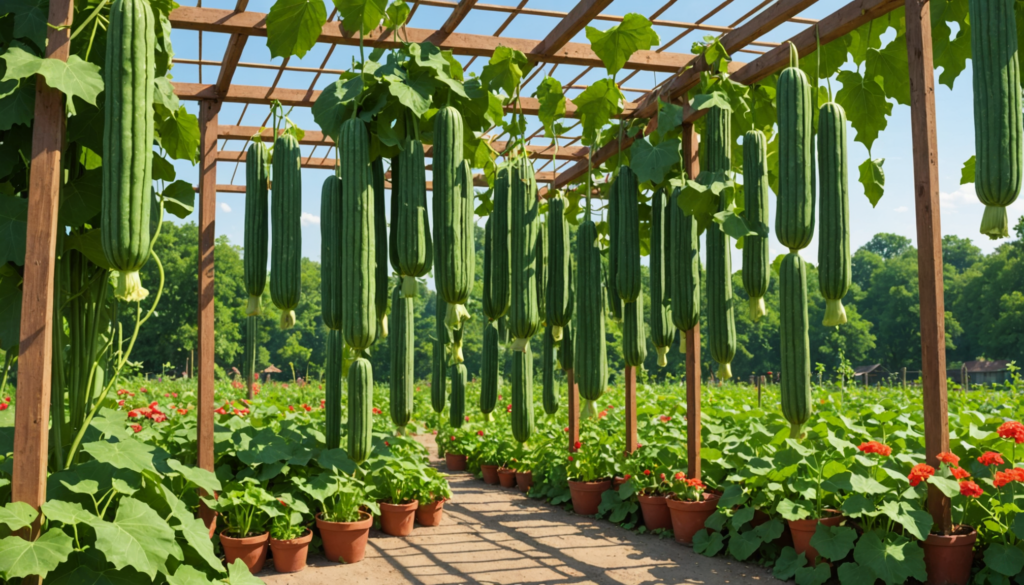
Luffa seeds are unique because they produce a gourd that develops into a sponge-like structure when mature. Unlike common garden seeds, luffas require specific growing conditions, including a warm climate and support for climbing. (Gardeners Basics, Healthline)
- Temperature Sensitivity: Luffa seeds germinate best when soil temperatures are consistently above 70°F (21°C), making them ideal for warmer regions. (Seedling Success)
- Long Growing Season: They typically need a longer growing season of about 150 to 200 days to fully mature, which sets them apart from many traditional garden vegetables.
Benefits of Growing Your Own Loofah Sponge at Home
Growing luffa at home offers several benefits, such as producing natural sponges free from chemicals, reducing reliance on synthetic products, and providing an opportunity for gardening enthusiasts to engage in a rewarding hobby.
- Sustainability: Luffas are biodegradable and can help reduce environmental waste by offering an eco-friendly alternative to plastic sponges. (Rebels with a Cause)
- Gardening Experience: Cultivating luffa can also enhance your gardening skills, as it requires attention to pollination, care, and harvesting techniques.
The Life Cycle of a Loofah Plant from Seed to Harvest
The life cycle of the luffa plant takes about 120 to 150 days, beginning with seed germination, followed by seedling growth, flowering, fruit development, and ultimately harvesting the mature luffas.
- Germination Stage: Seeds typically germinate within 7-14 days under optimal conditions, which include warmth and moisture. (Greg)
- Harvesting: Once harvested, the gourds will need processing to transform them into usable sponges. This includes drying and peeling steps that are essential for preparing the luffa for use.
How to Plant Luffa Seeds Successfully for Optimal Growth
Preparing Luffa Seeds for Germination
To prepare luffa seeds, soak them in water for 24 hours before planting. This helps to soften the hard seed coat and can lead to faster germination.
- Scarification: Some gardeners also recommend lightly scratching the surface of the seed coat before soaking to further enhance germination rates.
- Timing: Timing your planting is crucial; start seeds indoors if your region has a shorter growing season to ensure successful maturation.
Direct Sowing vs. Starting Loofah Seeds Indoors: Which is Best?
Direct sowing is suitable in warm climates, while starting seeds indoors is recommended in cooler regions to ensure seedlings have a head start before transplanting.
- Indoors Advantages: Starting indoors allows for better control over environmental conditions such as light, temperature, and moisture.
- Outdoors Considerations: If direct sowing, ensure that the last frost has passed and that soil is warm enough for optimal growth.
When to Transplant Loofah Seedlings to Your Garden
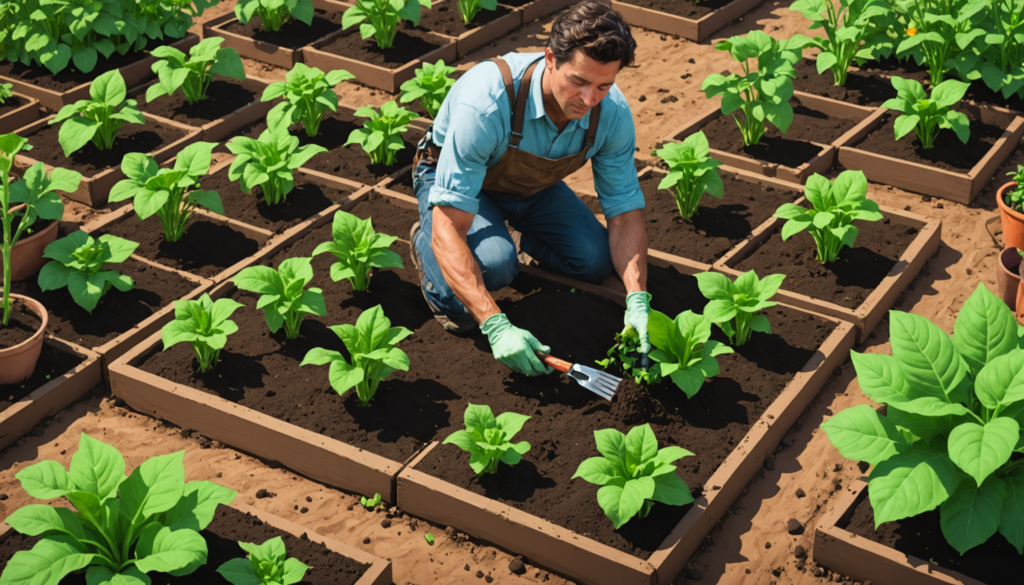
Transplant luffa seedlings outdoors once the danger of frost has passed and the soil temperature is consistently above 70°F (21°C).
- Hardening Off: Gradually acclimate seedlings to outdoor conditions by hardening them off for about a week before transplanting.
- Spacing: Provide ample space between plants (at least 3-4 feet apart) to accommodate their sprawling vines and ensure good air circulation.
Selecting the Best Garden Location for Growing Loofah
Choose a location with full sun exposure, well-draining soil, and plenty of space for the plants to climb, as luffa can spread significantly.
- Soil Quality: Enriching the soil with organic matter such as compost will improve drainage and nutrient availability.
- Support Structures: Ensure that you have sturdy trellises or fences in place before planting to facilitate their climbing growth habit.
Essential Summer Care for Your Growing Loofah Plants
Proper Water Requirements for Luffa Plants
Luffa plants require regular watering to keep the soil consistently moist, especially during dry periods, but avoid waterlogging.
- Watering Technique: Watering deeply instead of frequently and superficially is better because it promotes the development of deeper roots.
- Mulching: Applying mulch around the base of the plants can help retain moisture and suppress weeds.
When and How to Fertilize Your Luffa Gourd Vines for Optimal Growth
Fertilize luffa plants with a balanced fertilizer every 4-6 weeks during the growing season to promote healthy growth.
- Organic Options: Organic fertilizers like compost or fish emulsion can enhance soil health while providing necessary nutrients.
- Signs of Nutrient Deficiency: Keep an eye out for yellowing leaves or stunted growth, which may indicate a need for additional nutrients.
Training and Support Techniques for Climbing Luffa Plants
Use trellises or other supports to help luffa plants climb. This not only saves space but also encourages air circulation and reduces disease risk.
- Training Vines: Regularly guide the vines onto the trellis using soft ties or twine to prevent damage.
- Maintenance: Inspect supports regularly to ensure they can withstand the weight of the growing plants.
How to Pinch and Prune for Better Loofah Production
Pinching off the tips of the main vines and removing excess blooms can encourage more vigorous growth and larger fruit.
- Timing for Pruning: Conduct pruning during the early growing phase to establish a strong plant structure.
- Focus on Health: Remove any dead or yellowing leaves promptly to maintain plant health and improve air circulation.
Pollination Techniques to Ensure a Successful Luffa Harvest
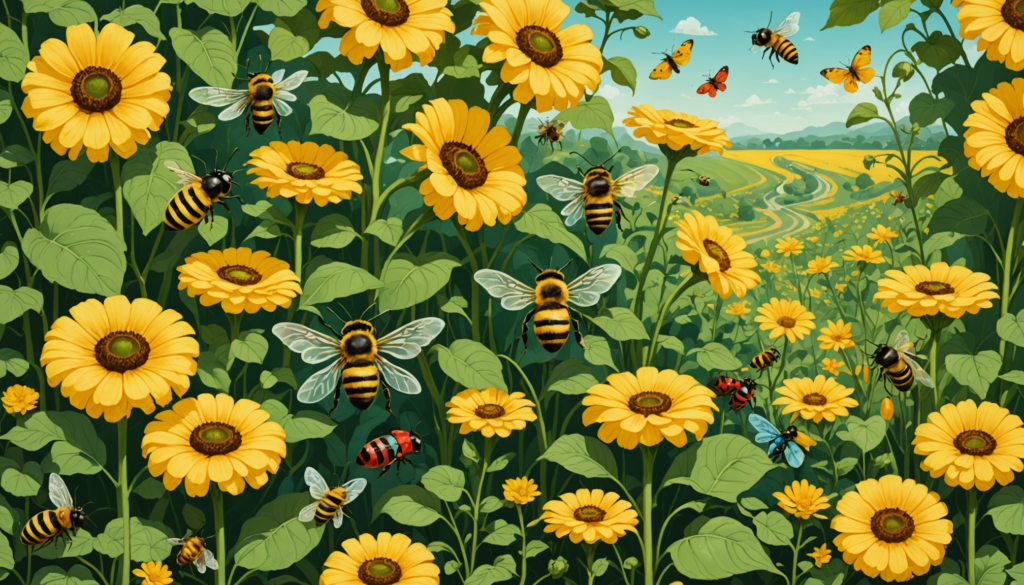
Understanding Luffa Plant Pollination Requirements
Luffa flowers are typically monoecious, meaning they have male and female flowers on the same plant. For successful fruiting, it’s essential to ensure pollination occurs, whether by natural pollinators or hand pollination.
- Pollinator Attractants: Planting flowers nearby can attract bees and other beneficial insects that aid in pollination.
- Flower Timing: Female flowers usually bloom after male flowers; knowing this timing can help in planning hand pollination efforts.
When and How to Hand Pollinate Your Loofah Flowers
Hand pollination can be achieved by using a small brush to move pollen from male flowers to female ones or by softly shaking the flowers. The best time for hand pollination is early in the morning when flowers are fully open and pollen is fresh. Use a gentle touch when transferring pollen to avoid damaging delicate flower parts.
Identifying and Supporting Natural Pollinators in Your Garden
Encourage bees and other pollinators by planting companion flowers nearby and avoiding pesticides that could harm beneficial insects. Incorporating a variety of flowering plants creates a more inviting environment for pollinators. Explore organic pest control methods that are less harmful to beneficial insects while protecting your crops.
Harvesting and Processing Your Homegrown Loofah Sponge
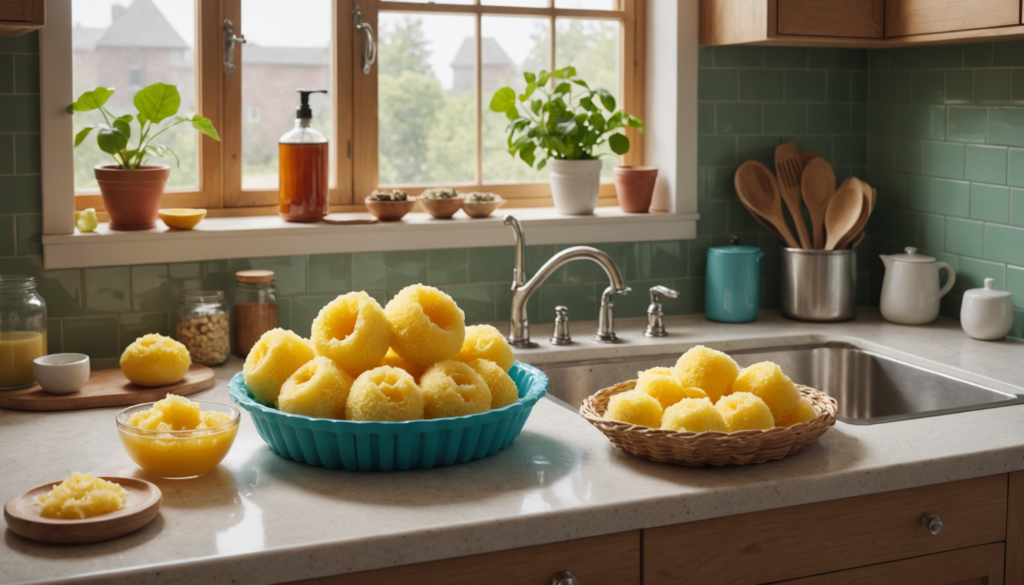
How to Determine When Your Luffa Gourds are Ready to Harvest
Luffa gourds are ready to harvest when they turn brown and the skin begins to dry out. Gently squeeze the gourd; if it feels hollow, it’s time to harvest.
- Visual Indicators: Look for signs such as browning skin and an audible rattling sound when shaken, indicating mature seeds inside.
- Timing Considerations: Be mindful of harvesting before frost, as frost can damage both the fruit and plant.
Step-by-Step Guide to Peel and Process Loofah Sponges
Processing your harvested loofah sponges is essential for transforming them into usable products. This guide outlines the steps to properly peel and prepare your loofahs, ensuring they are clean, dry, and ready for various applications.
- Harvesting: Begin by soaking the gourds in water to loosen the skin, making the peeling process easier.
- Soaking Tips:
- Fully submerge the gourds in water for optimal results.
- Allow soaking to take several hours to ensure the skin is adequately loosened.
- Peeling: Once the skin is sufficiently softened, carefully peel it away to reveal the fibrous interior.
- Seed Removal: Remove any seeds present in the fibrous interior as you peel.
- Drying Method:
- After peeling, place the sponges in a well-ventilated area to dry completely.
- Ensure they are thoroughly dried to prevent mold growth.
- Depending on humidity levels, drying can take several days; check periodically to ensure they remain in a suitable environment.
Drying and Storing Your Harvested Luffas: Best Practices
Store dried luffas in a cool, dry place away from direct sunlight to maintain their quality.
- Storage Containers: Use breathable bags or containers that allow airflow while keeping moisture out.
- Longevity Tips: Properly dried luffas can last several years if stored under optimal conditions.
Creative Uses for Your Homegrown Loofah Sponges in Daily Life
Use luffa sponges for bathing, cleaning, and even in gardening as a natural mulch or to create biodegradable pots.
- Crafting Potential: Beyond household uses, luffas can be painted, decorated, or incorporated into craft projects for unique gifts.
- Kitchen Uses: They serve well as eco-friendly alternatives for scrubbing pots and pans or even exfoliating skin in beauty routines.
Conclusion
Growing luffa plants can be a rewarding experience, providing both a unique gardening challenge and a source of sustainable products. With proper care and attention, gardeners can enjoy not only the practical benefits of loofah sponges but also the satisfaction that comes from nurturing their plants from seed to harvest.
FAQs
1. What are effective pest management strategies for growing loofah?
Many gardeners seek organic solutions such as companion planting or natural insect repellents to manage pests without harming beneficial insects.
2. When is the best time to plant loofah seeds?
Luffa seeds should be planted after the last frost date when soil temperatures are consistently above 70°F (21°C) for optimal germination and growth.
3. What are the nutritional benefits of loofah?
When harvested young, luffas can be cooked similarly to zucchini and are rich in fiber, making them a nutritious addition to meals.
4. How can I troubleshoot common issues in luffa cultivation?
Issues such as poor pollination, pest infestations, or diseases can typically be resolved with preventive care; regularly monitor plant health and engage with local gardening communities for advice.

