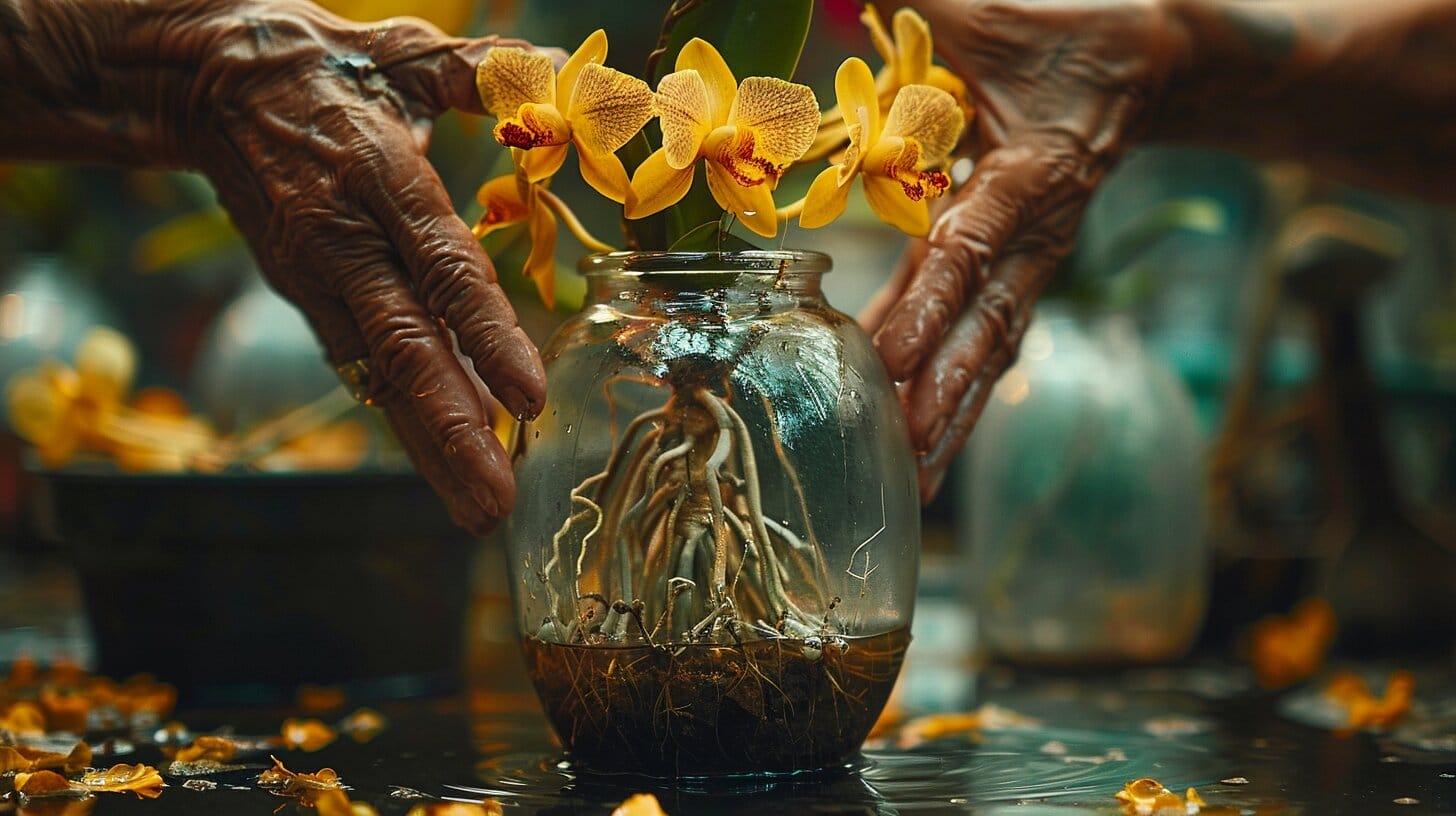
As we set forth to gain expertise in the intricate process of transferring orchids, we discover the detailed care involved in maintaining these stunning plants with accuracy.
Join us as we unravel the secrets of orchid transplantation, paving the way for a journey of botanical mastery.
Key Takeaways
- Recognize signs for repotting to maintain orchid health.
- Prepare with proper tools, pot size, and potting mix.
- Follow careful transplantation steps for successful repotting.
- Provide aftercare by monitoring, trimming, and gradual adjustment.
Understanding When to Repot Your Orchid: Timing is Key
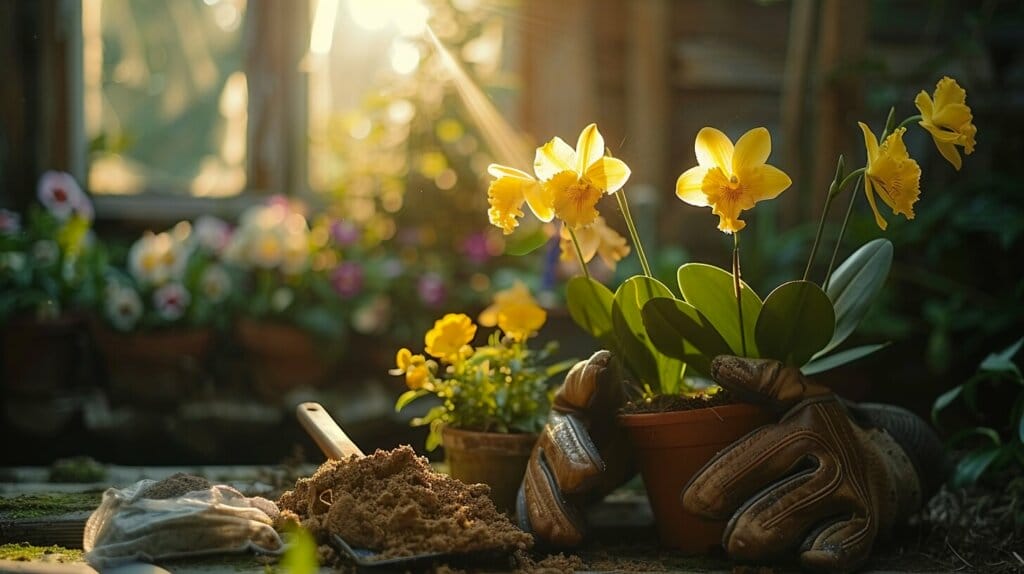
Recognizing when to repot your orchid is crucial for its health. Watch for crowded roots, which can hinder nutrient absorption and growth. Check the potting medium for breakdown or a sour smell, indicating it’s time for a fresh, well-draining medium.
For Phalaenopsis orchids, repot every 1-2 years to prevent overcrowding and promote optimal growth.
Preparing for the Transplant: Gathering the Right Supplies
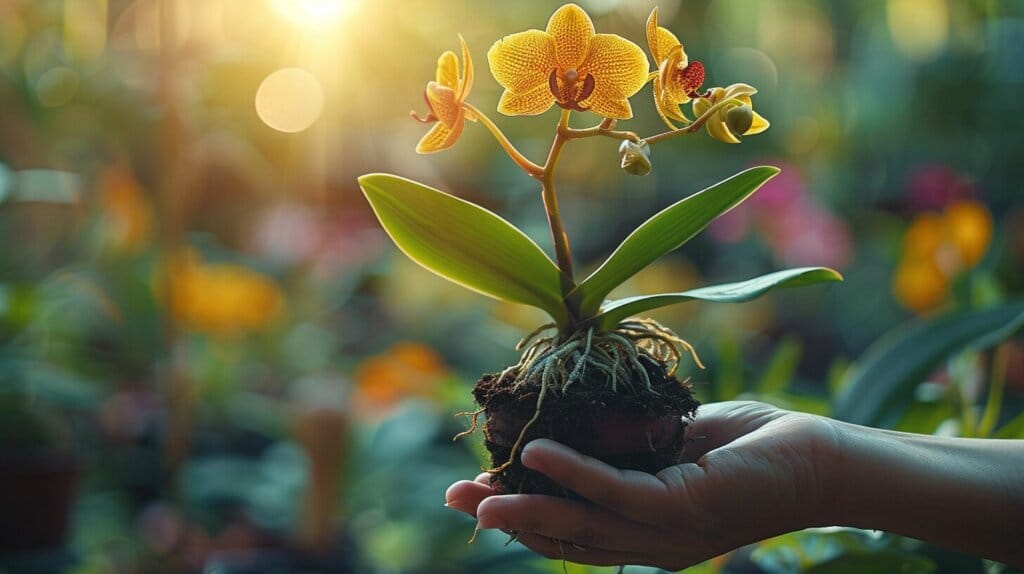
Gathering the right supplies for an orchid transplant involves choosing the perfect pot size, material, and ensuring proper drainage, selecting the appropriate potting mix for your orchid type, and having essential tools ready for a successful transplantation process.
- Orchid Pot: When preparing to transplant an orchid, choose a pot that allows room for root growth without being cramped. Use a breathable material like terracotta to prevent waterlogging and enhance root aeration.
- Potting Mix: Choose the right potting mix for your orchid to ensure its health. Research your orchid type to find the best-suited medium. Opt for a well-draining mix that retains some moisture to prevent root rot and encourage healthy growth.
- Essential Tools: Prepare for a successful orchid transplant by having essential tools like sterilized pruning shears, a clean work surface, and gloves on hand. These tools will streamline the process and help ensure your orchid’s well-being.
The Step-by-Step Guide to Transplanting Orchids Indoors
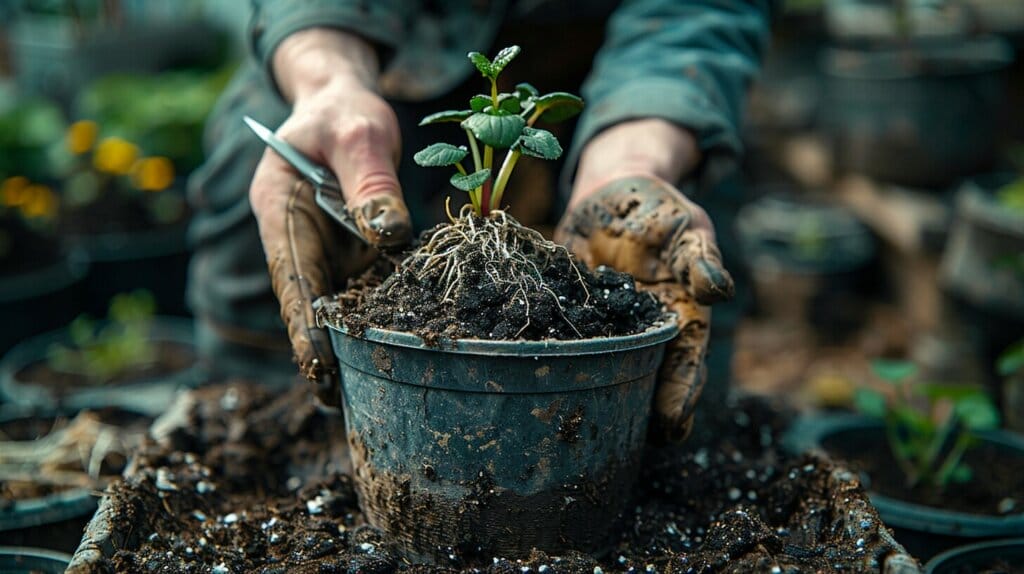
When transplanting orchids indoors, choose the right pot size, material, and ensure proper drainage for healthy growth. Carefully remove the orchid from its old pot, inspect roots for damage or overcrowding, and consider dividing if necessary. Replant the orchid in a pot that is just slightly larger than its root system, using a well-draining potting mix specifically designed for orchids. Place the pot in a location with sufficient indirect sunlight and keep the soil consistently moist, but not waterlogged. Best indoor vine plants to pair with orchids include philodendron, pothos, and English ivy, which can provide a beautiful backdrop for the delicate blooms of the orchid.
Select a slightly larger pot to prevent waterlogging, use well-draining potting mix, position the orchid at the same depth, and pack the mix around the roots for support.
Aftercare: Providing Special Care for Your Transplanted Orchid

After transplanting your orchid, adjust the watering and fertilizing schedule to support its recovery and growth. It’s essential to provide special aftercare to ensure the orchid thrives in its new environment. Here are key steps to take:
- Monitor the Potting Media: Check the potting media regularly to ensure proper drainage and aeration for healthy root growth. Replace the potting media if it breaks down or becomes compacted, as this can lead to root suffocation and rot.
- Trim Dead Roots: Trim dead or rotting roots to prevent disease spread and promote new root growth. Healthy roots are essential for optimal water and nutrient absorption.
- Gradually Resume Normal Care Routine: Gradually resume watering and fertilizing, avoiding overdoing it. Increase as the orchid adjusts and shows new growth.
Can the Same Techniques for Transplanting Orchids Indoors be Applied to Planting Moss in a Terrarium?
Yes, the techniques for planting moss in terrarium are similar to transplanting orchids indoors. Both require careful handling, proper moisture levels, and suitable growing conditions. When planting moss in a terrarium, it’s important to recreate a natural environment and provide the right amount of light and water for healthy growth.
Troubleshooting Common Issues in Orchid Transplantation
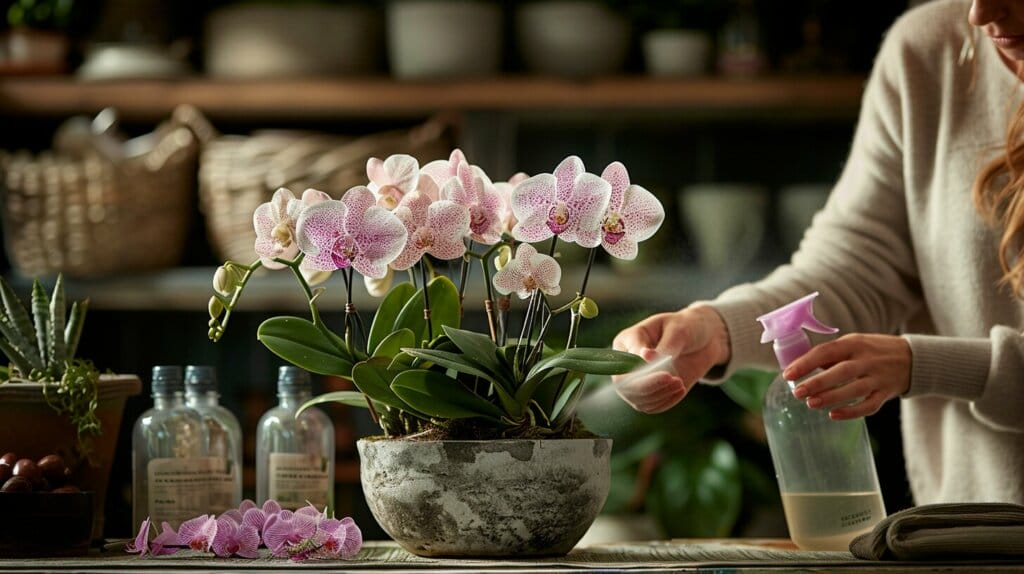
Address common issues during orchid transplantation by managing root rot, potting media problems, mitigating transplant shock, and promoting healthy growth. Combat root rot with proper watering and well-draining media. Lessen transplant shock by acclimating the orchid gradually and ensuring humidity.
Troubleshoot potting media problems by repotting with fresh medium. Promote healthy growth by maintaining stable conditions, providing light, and appropriate fertilization.
Conclusion
In conclusion, mastering the art of orchid transplantation is a rewarding journey that requires patience, attention to detail, and a deep understanding of these delicate plants.
By following our step-by-step guide and being proactive in caring for your orchids, you can ensure they thrive and bloom beautifully.
Remember, timing is key, so be observant and proactive when it comes to repotting your orchids to keep them healthy and vibrant for years to come.
Frequently Asked Questions
What is orchid transplantation?
Orchid transplantation, also known as repotting, is the process of moving an orchid plant from one pot to another to provide it with fresh potting media and space for growth.
When should I repot my orchid?
It is recommended to repot an orchid every 1-2 years, or when you notice overcrowding in the pot, roots growing out of the drainage holes, or poor drainage and aeration in the current potting mix.
How do I choose the right pot for my orchid?
Select a pot that is slightly larger than the current one, with good drainage holes to prevent waterlogging. Orchids prefer pots made of breathable materials like clay or plastic.
how to transplant orchids indoors Step-By-Step?
To transplant an orchid, gently remove it from the old pot, trim away any dead roots, place it in the center of the new pot, and fill the remaining space with fresh potting mix. Water the orchid lightly after transplantation.
How do I divide an orchid during transplantation?
If your orchid has multiple pseudobulbs or stems, you can gently divide the plant during transplantation by ensuring each division has enough healthy roots and stems for successful growth.

