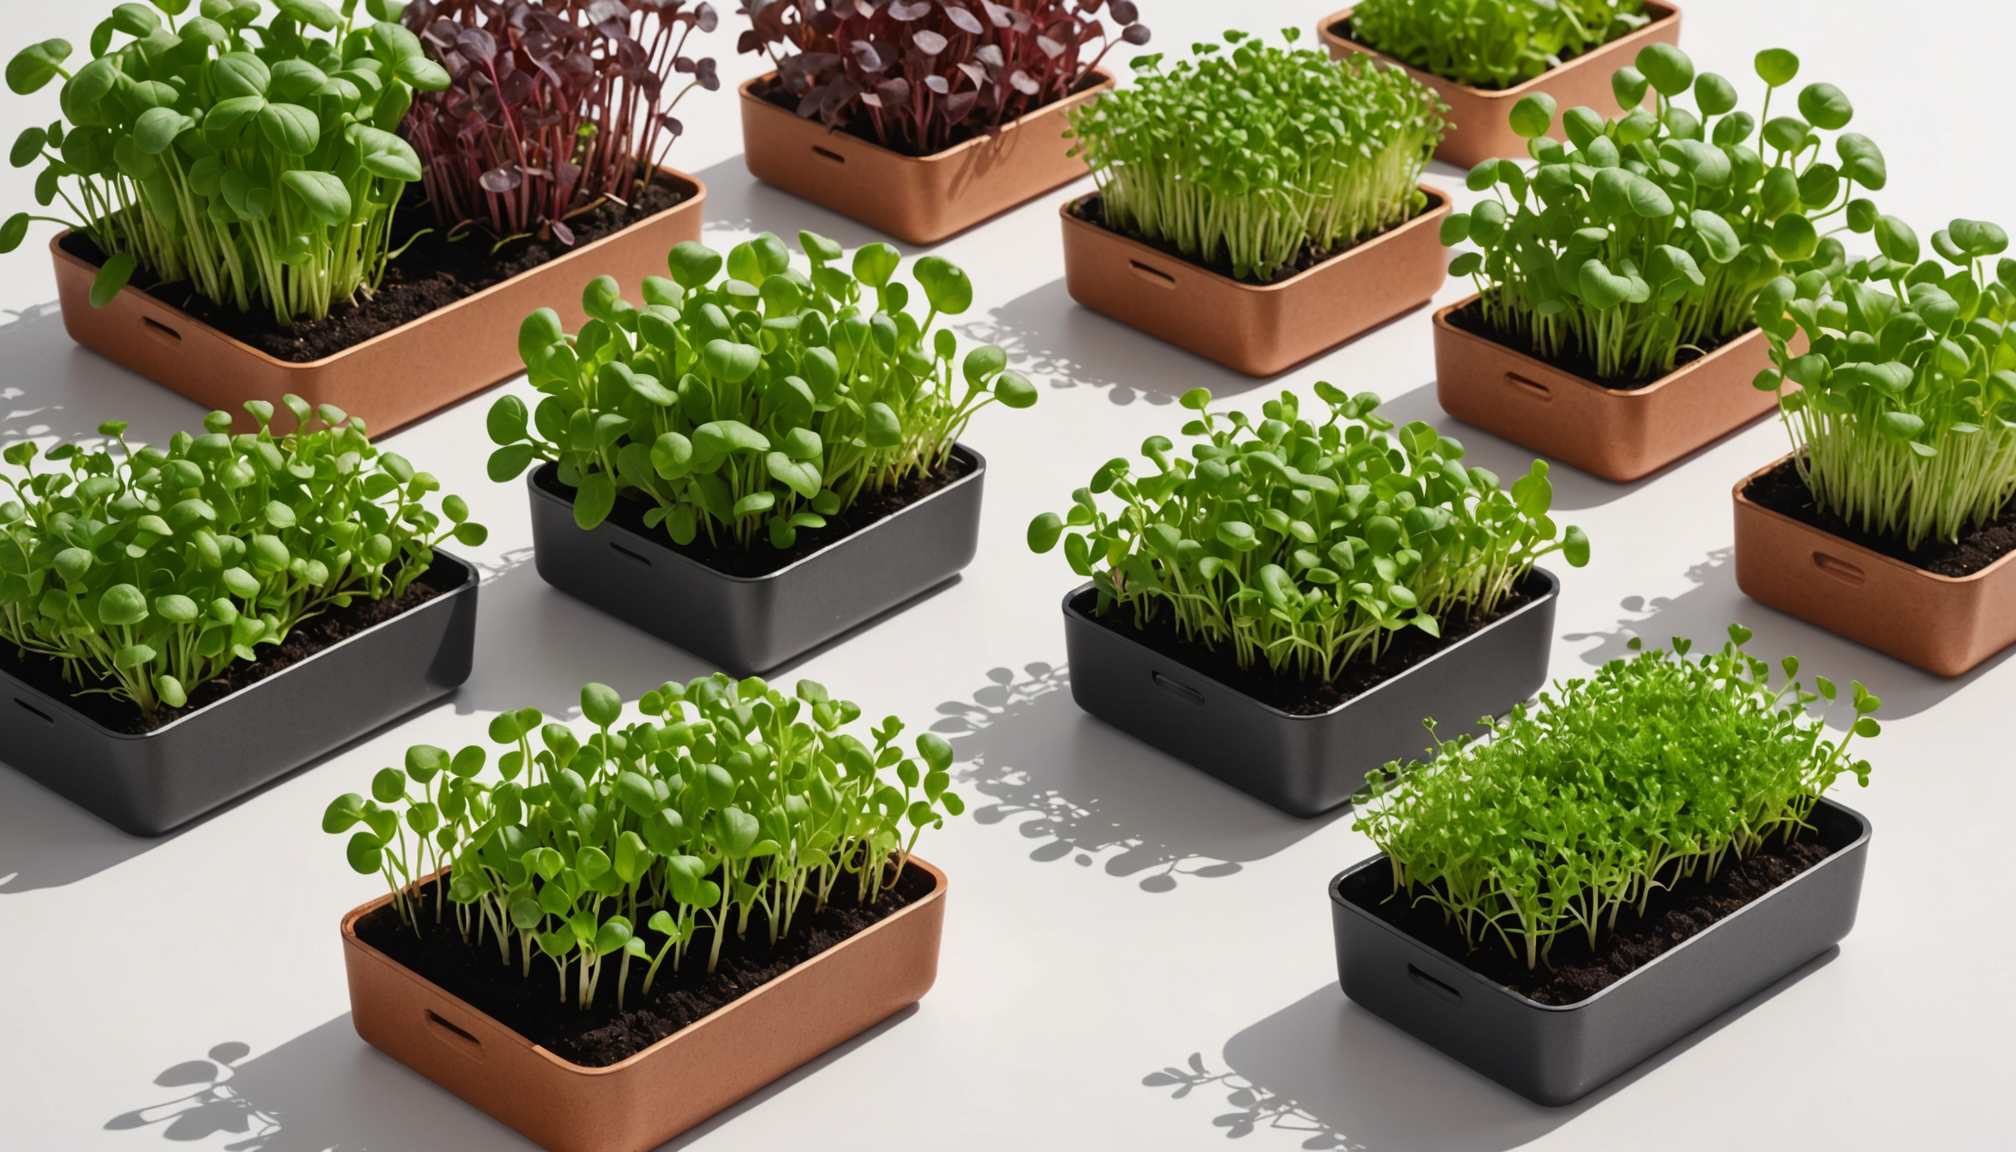
Imagine walking into your kitchen and snipping fresh greens right from a container—sounds like magic, right? With the List of Micro greens that regrow, you can make this a reality! These tiny, nutrient-packed plants not only add flavor to your meals but also grow back quickly after you harvest them. Understanding how to cultivate these microgreens can be super exciting, especially since they can save you time and money while promoting a healthy diet.
But why should you care about microgreens? If you don’t learn the best ways to grow them, you might miss out on a fun and delicious gardening adventure! In this article, we’ll explore some popular microgreens that are easy to regrow, their amazing health benefits, and tips for ensuring they thrive in your home. Get ready to dive into the world of microgreens and discover how you can enjoy fresh greens all year round!
Understanding Microgreens That Regrow
What Are Microgreens and Why They Regrow?
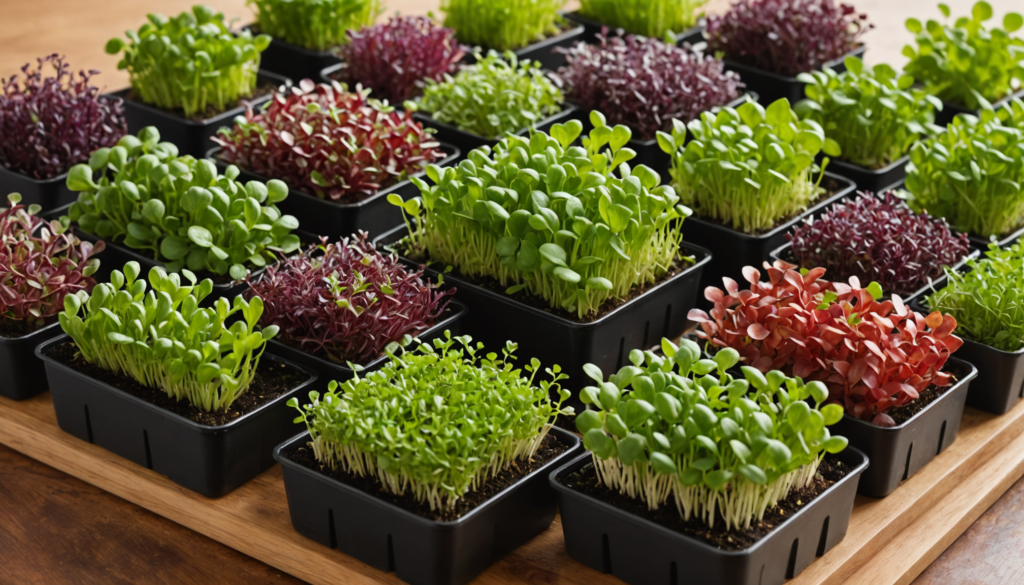
Microgreens are young seedlings from edible vegetables and herbs. They are harvested just after developing their first true leaves. These tiny plants pack a powerful punch of flavor and nutrition. Common types of microgreens include arugula, basil, beets, and kale. They can regrow after cutting because they sprout new leaves from the stem, provided the base and root system stay intact. This ability makes microgreens a sustainable option for home gardeners, allowing for a continuous supply of fresh greens.
Health Benefits of Growing Microgreens
Microgreens are nutrient-dense and often contain more vitamins and minerals than their mature counterparts. They are rich in antioxidants and key nutrients such as vitamins C, E, and K. These nutrients support the immune system, reduce inflammation, and promote overall health. Additionally, microgreens enhance the flavor and texture of meals, making them a delicious and healthy addition to daily diets.
The Best Conditions for Microgreens to Regrow
To regrow microgreens successfully, certain conditions are necessary. Here are the optimal growing requirements:
- Light: Microgreens need indirect sunlight or artificial grow lights, thriving best with 12-16 hours of light each day.
- Soil: A nutrient-rich, well-draining soil is crucial. A quality potting mix provides the necessary nutrients for healthy growth.
- Water: They require consistent moisture but should not be overwatered to prevent mold growth. Keep the soil moist, not soggy.
- Temperature: The ideal temperature range for growing microgreens is 60-75°F (15-24°C). This range fosters healthy growth and reduces plant stress.
By ensuring these optimal conditions, microgreens can thrive and produce fresh greens continuously.
Citations
- Microgreens are defined as young seedlings of edible vegetables and herbs, typically harvested after the first true leaves develop. Healthline
- They are known to contain higher levels of vitamins and minerals compared to their mature counterparts. NCBI
Top Microgreens That Regrow After Cutting
List of Easy-to-Grow Microgreens
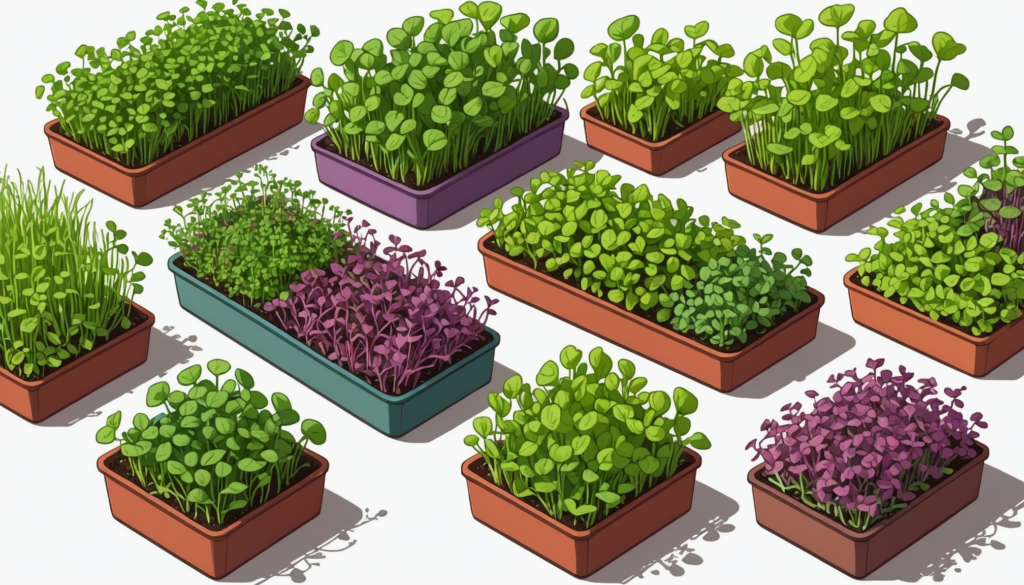
Microgreens are young plants that grow quickly and can be harvested multiple times. Here are some easy-to-grow microgreens that regrow well after cutting:
- Arugula: This microgreen has a peppery flavor and is simple to grow. It regrows quickly after cutting.
- Basil: Known for its sweet aroma, basil thrives in home gardens. Regular pruning encourages more growth.
- Kale: A nutrient-dense superfood, kale can be harvested several times throughout the growing season.
- Cilantro: Popular in many cuisines, cilantro regrows rapidly when cut properly above the soil line.
- Beet Greens: These vibrant greens are sweet and tender. Harvest by leaving some leaves intact to promote regrowth.
Unique Traits of Each Microgreen
Each microgreen has distinct features that make it valuable for home gardeners:
- Arugula:
- Flavor: Peppery and slightly bitter.
- Growth: Fast germination (5-7 days) and quick regrowth.
- Basil:
- Flavor: Sweet and aromatic.
- Growth: Thrives in warm weather; regular pruning leads to bushier plants.
- Kale:
- Flavor: Mild with an earthy note.
- Growth: Can be cut multiple times, making it cost-effective.
- Cilantro:
- Flavor: Fresh and citrusy.
- Growth: Quick regrowth; best cut above the soil for new growth.
- Beet Greens:
- Flavor: Sweet and tender.
- Growth: Easily regrows by leaving some leaves after cutting.
How to Select the Right Microgreen for Your Garden
Choosing the right microgreens involves considering several factors:
- Culinary Preferences: Select microgreens that fit your cooking style. For example, basil is perfect for Italian dishes.
- Climate Conditions: Some microgreens prefer warm temperatures, like basil, while others, such as kale, thrive in cooler conditions.
- Available Space: Assess how much space you have. Some varieties need more sunlight and larger containers.
- Growth Requirements: Understand the specific needs for light, soil, and water. Arugula and cilantro can grow in less light than basil and kale.
This careful selection ensures a successful microgreen garden that provides fresh greens for meals, enhances health, and minimizes waste.
How to Grow Microgreens for Continuous Harvest
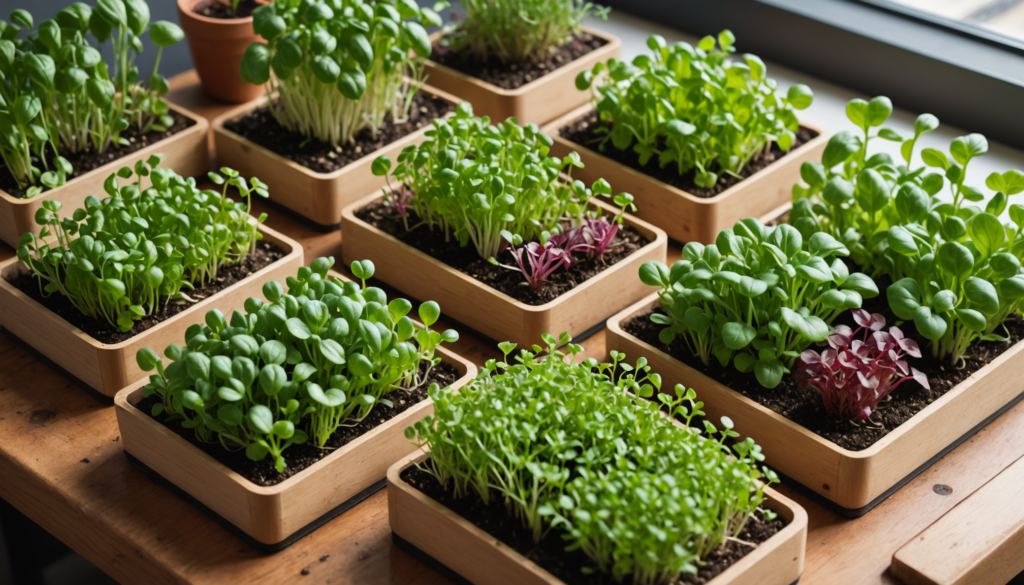
Growing microgreens is a rewarding activity. These tiny plants are nutrient-dense, easy to cultivate, and can be harvested multiple times. This guide explains how to plant microgreens, maintain their growth, and meet their watering and sunlight needs for optimal regrowth.
Step-by-Step Guide to Planting Microgreens
- Select Seed Variety: Choose microgreens that regrow well. Popular options include pea shoots, radish microgreens, and basil.
- Prepare Growing Medium: Use a sterile, moisture-retaining medium that drains properly. A mixture of soil and compost works well.
- Sow Seeds: Scatter seeds evenly across the soil surface. Avoid overcrowding and cover them lightly with soil.
- Watering: Mist the seeds gently with a spray bottle. Keep them moist but not soaking wet for successful germination.
- Light Exposure: Place your microgreens where they receive plenty of light. Natural sunlight or grow lights are effective.
By following these steps, growers can ensure a healthy start for their microgreens, leading to successful regrowth after harvesting.
Tips for Maintaining Optimal Growth
- Moisture Control: Keep the growing medium consistently moist without overwatering. This balance prevents disease and supports healthy root development.
- Soil Quality: Use high-quality, nutrient-rich soil. Regularly check the soil to ensure it remains fertile throughout the growth cycle.
- Air Circulation: Ensure good air circulation around the microgreens to prevent mold and promote even growth.
- Temperature Management: Maintain a stable temperature suited for the microgreen variety. Most thrive between 65°F to 75°F (18°C to 24°C) (Bootstrap Farmer).
Watering and Sunlight Requirements for Regrowth
- Watering: Microgreens typically need about 12-16 hours of light each day along with regular misting to keep moisture levels up. Indoor microgreens may require less water due to reduced evaporation.
- Sunlight: Position them in an area with adequate light, whether from windows or grow lights. If using artificial lights, keep them 2-4 inches above the plants and adjust as they grow.
- Checking Soil Moisture: Use your finger to check the soil moisture. If it feels dry about an inch deep, it’s time to water again.
By adhering to these watering and sunlight guidelines, growers can ensure their microgreens remain healthy and productive. This results in a continuous harvest, providing fresh greens year-round.
Tips for Harvesting Microgreens to Maximize Regrowth
Proper Techniques for Cutting Microgreens
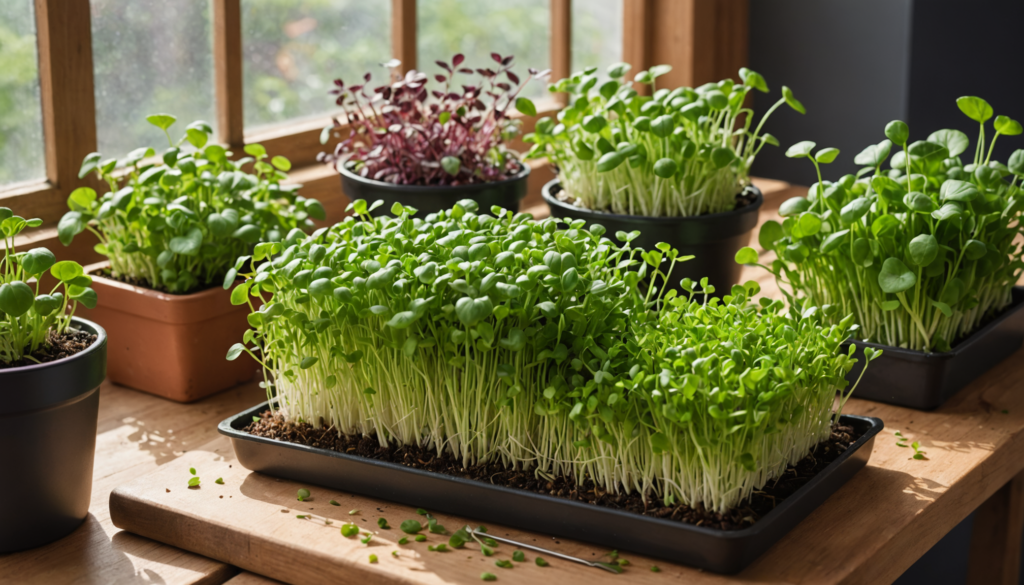
To help microgreens grow back after harvesting, cutting them correctly is essential. Use clean, sharp scissors to cut the microgreens just above the soil line. This technique minimizes damage to the plant. Tearing or pulling can harm the microgreens and slow down their regrowth. A clean cut allows new leaves to sprout from the base of the stem, leading to a fresh crop more quickly.
- Benefits of Clean Cuts:
- Reduces stress on the plant.
- Promotes faster regrowth.
- Lowers the risk of disease by preventing stem damage.
Signs That Microgreens Are Ready to Harvest
Microgreens are ready to harvest when they reach a height of 1 to 2 inches and have their first true leaves. True leaves are the second set of leaves, which form after the initial cotyledon leaves. These signs show that the plants are healthy and full of nutrients, making them perfect for eating.
- Indicators of Readiness:
- Height: 1-2 inches tall.
- True leaves: These leaves look different from the cotyledons.
- Color: Bright and vibrant greens indicate health.
Timing Your Harvest for Optimal Fresh Greens
Harvesting at the right time affects the flavor and crispness of microgreens. It is best to harvest in the morning when the moisture content in the leaves is highest. This practice enhances their taste and freshness, making them more enjoyable in salads, sandwiches, and other dishes.
- Best Practices for Timing:
- Harvest in the morning for maximum moisture.
- Avoid hot afternoons when plants may be stressed.
- Track growth stages, as microgreens can be harvested multiple times.
Following these tips for harvesting allows gardeners to enjoy a steady supply of fresh microgreens while ensuring the plants have the best chance for regrowth. (Wikipedia)
Expert Tips on Microgreens Regrowth and Maintenance
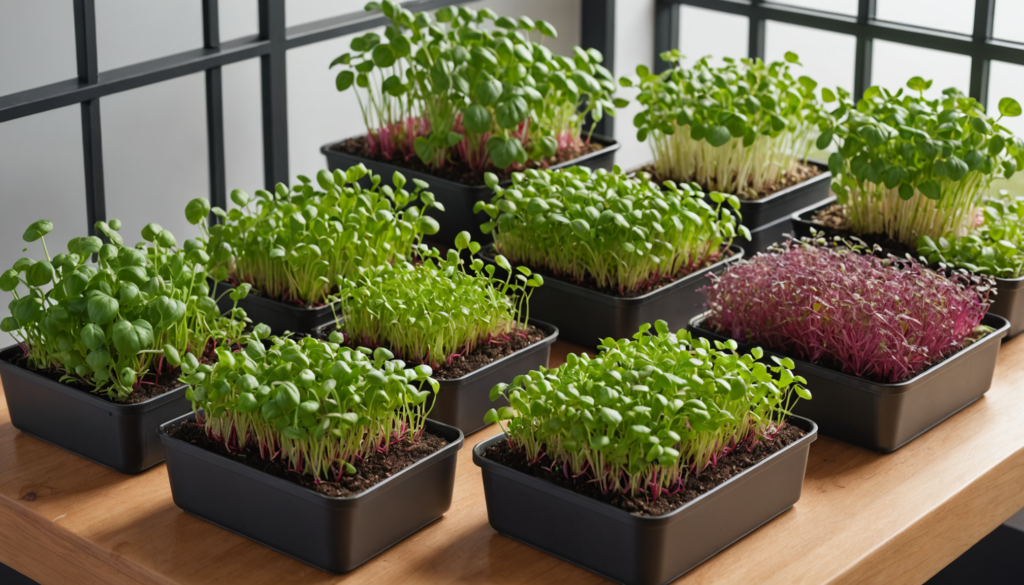
Microgreens are small yet powerful additions to meals, packed with flavor and nutrients. To grow them effectively, it is important to follow specific tips for regrowth and maintenance. These practices benefit both beginner and experienced gardeners, ensuring a steady supply of fresh microgreens.
Common Mistakes to Avoid When Growing Microgreens
Attention to detail is crucial in growing microgreens. Here are common mistakes to steer clear of:
- Overwatering: Many gardeners believe that more water leads to healthier plants. However, overwatering causes mold and root rot. Keep the soil moist but not soaked. A spray bottle can help manage water amounts effectively.
- Insufficient Light: Microgreens require abundant light, especially when grown indoors. Without enough light, they may become leggy and weak. Consider using grow lights to provide adequate daily illumination.
- Ignoring Air Circulation: Proper airflow helps prevent diseases. If growing indoors, place a small fan nearby. This not only strengthens the plants but also keeps them healthy.
- Using Poor Quality Soil: The quality of soil is vital. Microgreens thrive in nutrient-rich, well-draining soil. Avoid using garden dirt, which may contain pests and diseases harmful to seedlings.
By avoiding these mistakes, gardeners can enjoy vibrant, healthy microgreens.
Personalizing Your Microgreens Garden: Best Practices
Creating a personalized microgreens garden can be an enjoyable experience. Here are best practices to consider:
- Choose Your Varieties Wisely: Different microgreens offer distinct flavors and uses. Popular options include kale, arugula, and basil. Selecting varieties based on personal taste enhances the gardening experience.
- Experiment with Growth Containers: Microgreens adapt well to various containers. Shallow trays with drainage holes are effective. Trying different sizes can help you find the best fit for your available space.
- Implement Succession Planting: To enjoy a continuous harvest, plant microgreens in batches. For example, plant new seeds weekly. This way, when one batch is harvested, another is ready to eat.
- Record Your Results: Keeping a garden journal aids in tracking successes and challenges. Note growth times, flavors, and any issues encountered. This information guides future planting decisions.
These practices can make gardening more rewarding and productive.
Future Trends in Sustainable Microgreen Cultivation
Sustainability is increasingly important in gardening. Here are future trends to watch:
- Hydroponic and Aeroponic Systems: These growing methods are becoming popular as they use less water and space than traditional soil gardening. Hydroponic systems grow plants in nutrient-rich water, while aeroponic systems use mist, making them ideal for urban settings.
- Local Sourcing of Seeds: More gardeners are opting for locally sourced seeds. This trend supports local farmers and ensures seeds are well-suited to the region’s climate, leading to better growth and yield.
- Community Gardens: Interest in community gardens is on the rise. These gardens allow people to share resources and learn from one another, encouraging local food production and strengthening community ties.
- Emphasis on Nutritional Education: As health awareness grows, educational programs on the nutritional benefits of microgreens are expanding. Workshops and classes are increasing in popularity, teaching how to grow and cook with microgreens while raising awareness of their health advantages.
By staying informed about these trends, gardeners can adapt and enhance their microgreen cultivation. (Wikipedia – Microgreens)
Conclusion
Regrowing microgreens offer a sustainable way to enjoy fresh greens year-round. These nutrient-packed seedlings, including varieties like basil and kale, are easily grown at home. Key to success is well-drained soil, adequate moisture, and plenty of light. Harvesting just above the soil line encourages multiple harvests.
Microgreens boost health and add flavor to meals. They’re a simple and rewarding project for any gardener. This sustainable practice provides a continuous supply of fresh, homegrown produce. So, start growing today and enjoy fresh greens all year long!
FAQs
1. What are the best microgreens for beginners?
Microgreens are an excellent choice for new gardeners. They are simple to grow and require little space. Here are some top microgreens for beginners:
- Radish Microgreens: These grow quickly, ready for harvest in about 5 to 10 days. Their spicy flavor enhances salads.
- Pea Shoots: Sweet and nutritious, they take about 10 to 14 days to grow and are forgiving for novice gardeners.
- Sunflower Microgreens: Known for their nutty flavor, they sprout in roughly 7 to 10 days and make a fun snack.
- Basil Microgreens: With a rich flavor, basil microgreens can be harvested in about 14 days, perfect for adding taste to dishes.
These varieties thrive easily and provide nutritious greens for meals.
2. How often can I harvest microgreens?
The harvesting frequency for microgreens varies based on their type and growing conditions. Generally, most microgreens can be harvested every 7 to 14 days. Here are some key considerations:
- Growing Conditions: Proper light, moisture, and temperature can speed up growth, allowing for more frequent harvesting.
- Monitoring Growth: Regularly checking the size and health of microgreens is vital. Harvesting at the right time ensures the best flavor and texture.
- Regrowth Potential: Some microgreens can regrow after cutting, so timing will depend on whether the grower wants to encourage regrowth or start new seeds.
By keeping an eye on their growth, gardeners can enjoy microgreens continuously.
3. Can all microgreens regrow after cutting?
Not all microgreens can regrow after cutting. The ability to regrow depends on the specific type of microgreen. Here are some insights:
- Regrow-Friendly Varieties: Microgreens like pea shoots, basil, cilantro, and kale are known to regrow effectively when cut above the lowest leaves.
- Limitations: Other microgreens, such as mustard or arugula, may not regrow well after harvesting. Knowing which microgreens are more resilient is important.
- Harvesting Technique: Employing proper techniques, like avoiding cutting too low, significantly influences the potential for new growth.
Understanding the characteristics of each type helps growers maximize their yield and enjoy fresh greens longer.
4. Can I reuse the soil from growing broccoli microgreens for other crops?
Yes, you can reuse the soil after harvesting broccoli microgreens. However, it’s best to add it to your compost pile to further break down any remaining plant matter. This will enrich your compost and create a nutrient-rich amendment for your garden. You can also use the spent soil to start new fava bean seeds in a small compost bin.

