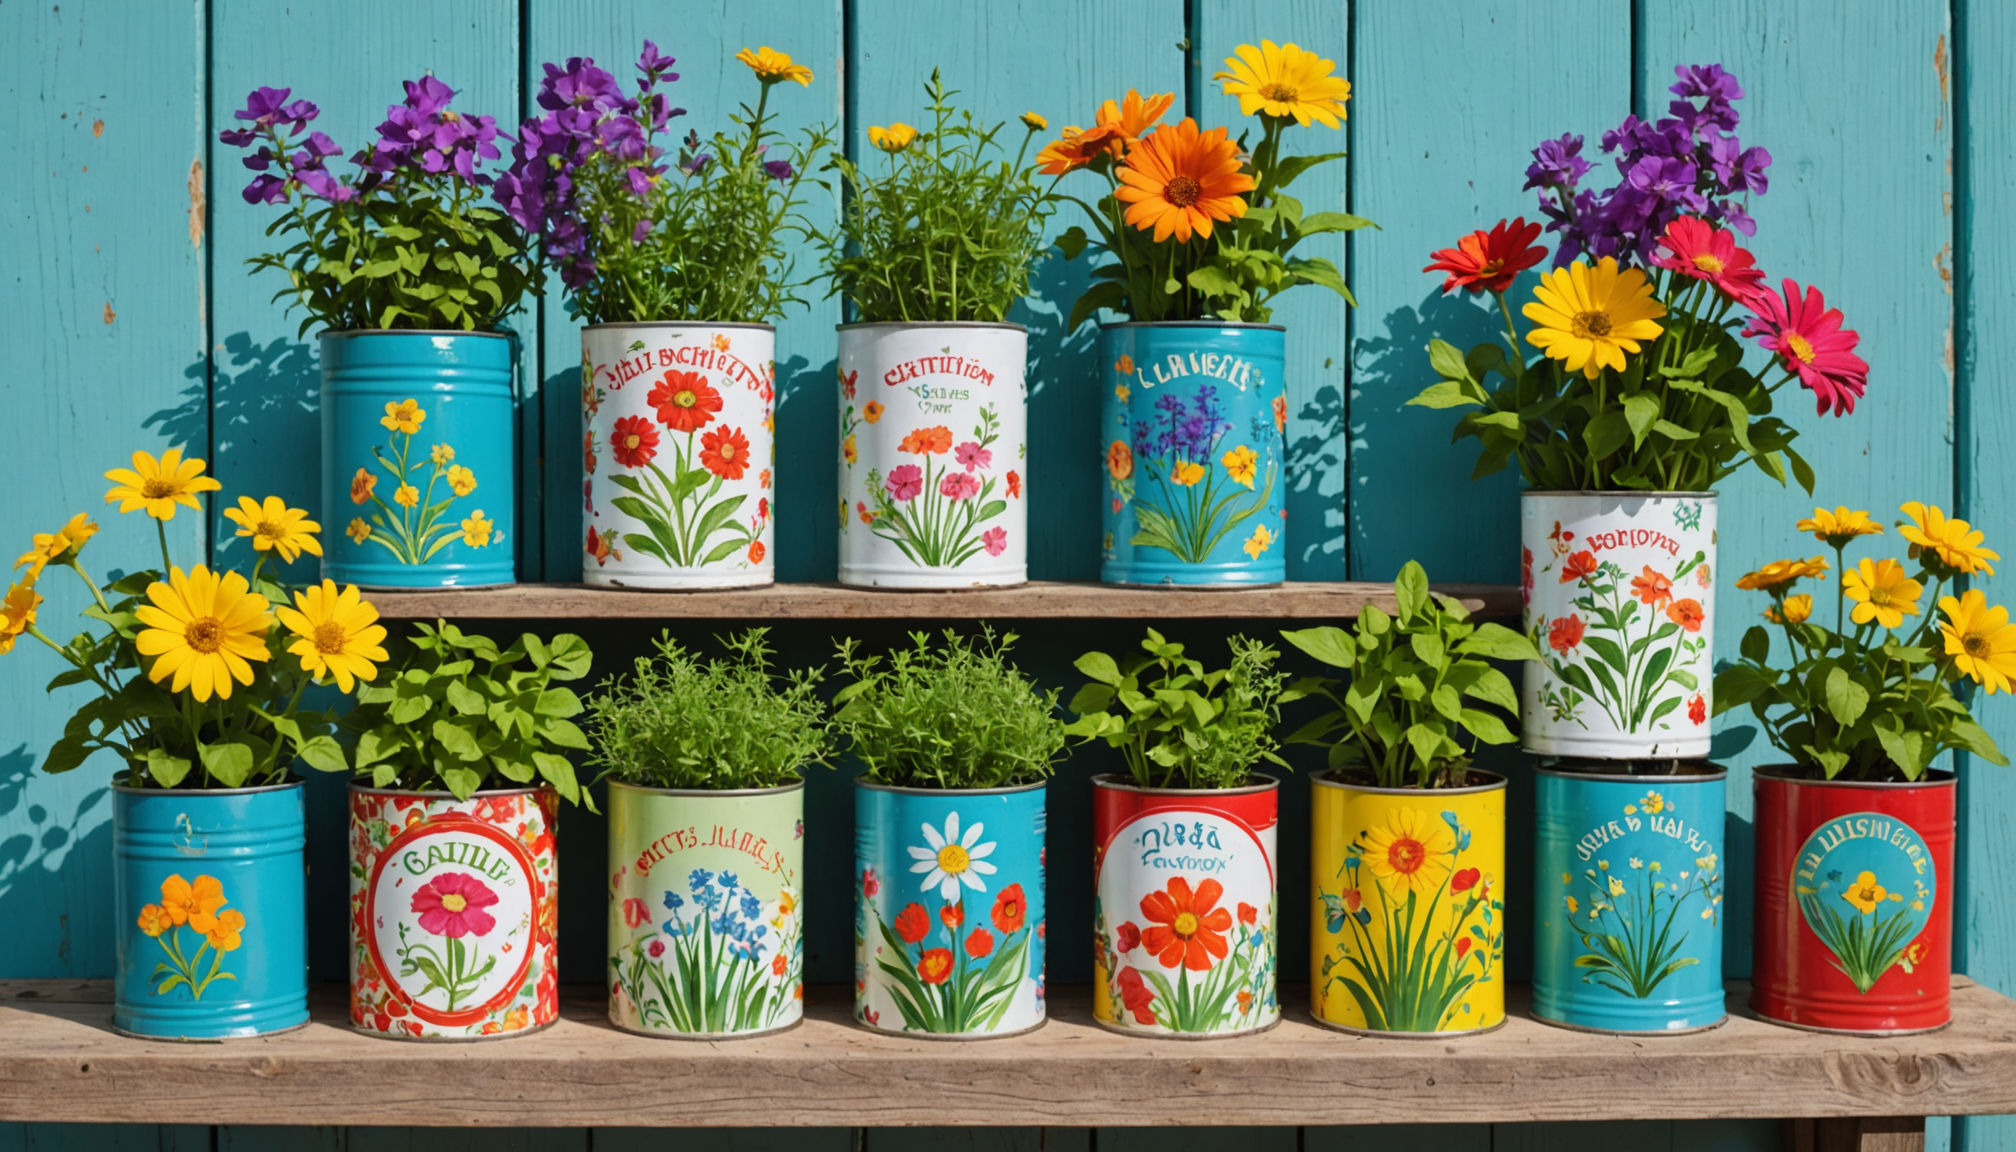
Have you ever thought about turning trash into treasure? Using tin cans as planters is not just a fun craft; it’s a brilliant way to brighten up your garden while helping the planet! When you upcycle old tin cans, you’re not only creating unique and colorful planters, but you’re also reducing waste and showcasing your creativity. If you don’t explore this exciting DIY project, you might miss out on the chance to make your garden truly special.
In this article, you’ll discover the many benefits of tin can planters, learn how to transform simple cans into beautiful homes for your favorite plants, and gather awesome decoration ideas to personalize your creations. We’ll cover everything from creating drainage holes to choosing the best herbs and flowers for your new planters. Get ready to unleash your inner gardener and start crafting your very own eco-friendly garden today!
Introduction to Tin Cans as Planters
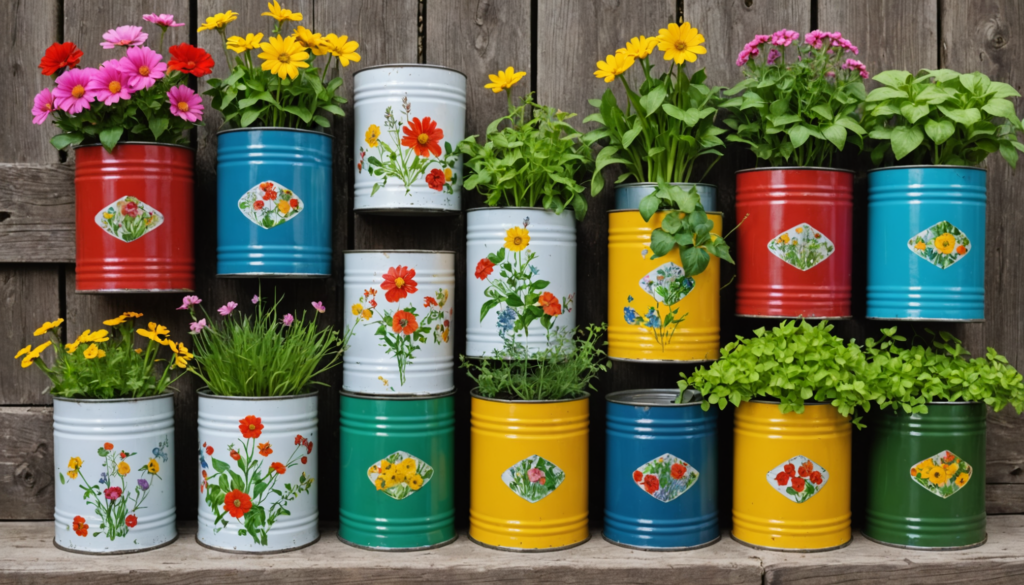
Using tin cans as planters is a smart and innovative way to garden while helping the environment. This creative approach promotes upcycling, which means turning waste into useful items. By using old tin cans, gardeners can reduce waste and create unique spaces for plants. Tin can planters are not only functional but also add a personal touch to any garden or indoor area.
Benefits of Using Tin Can Planters
Eco-Friendly Gardening Solutions
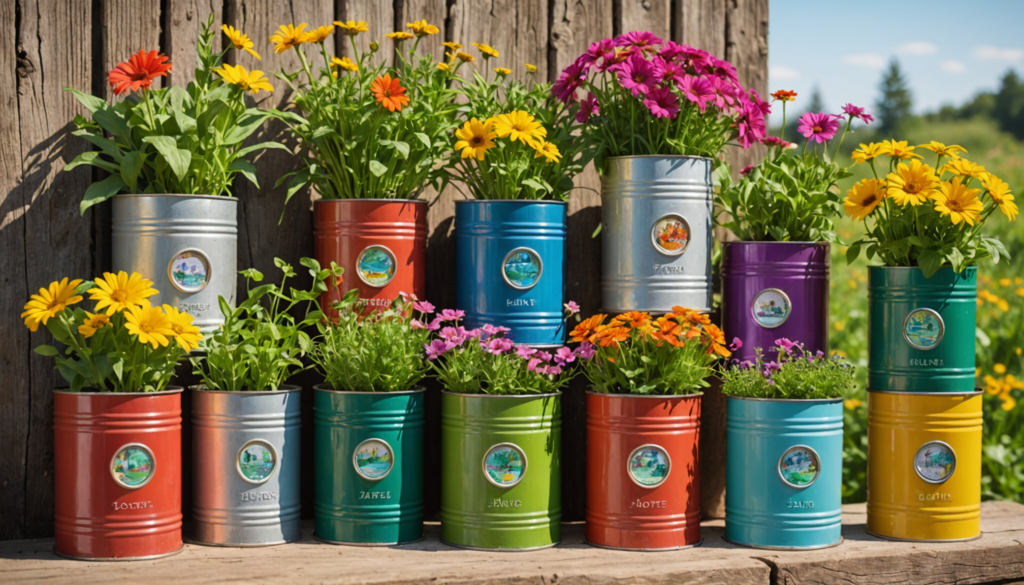
Tin cans are an eco-friendly choice for gardening. By repurposing these everyday items, individuals limit the waste that ends up in landfills. This practice supports sustainability and encourages more people to think about reusing materials. Using tin cans also reduces the demand for new products, which benefits the planet.
Cost-Effective and Accessible for All Gardeners
One of the biggest advantages of using tin cans as planters is their cost-effectiveness. Most people can easily find tin cans at home or in local stores. They are inexpensive and often free, making them available for all types of gardeners. Everyone, from beginners to experienced gardeners, can enjoy this budget-friendly gardening option.
A Brief History of Upcycled Planters
The Rise of Upcycling in Gardening
Upcycling has become popular in recent years, especially among gardeners. This trend encourages creativity with everyday items. Instead of throwing things away, people find new uses for them. Tin cans have become a favorite choice for those who want to add a unique touch to their gardens while being environmentally conscious.
Cultural Significance of Tin Cans in Home Gardening
Historically, many cultures have used tin cans for planting due to their durability. They symbolize resourcefulness and creativity, especially in urban gardening. People have used them to grow food in limited spaces, showing their versatility and practicality.
Why Recycle Old Tin Cans?
Reducing Waste and Encouraging Sustainability
Recycling old tin cans as planters helps minimize waste and promotes a sustainable lifestyle. By giving these containers new life, individuals participate in eco-friendly practices. This not only benefits the environment but also inspires others to think creatively about reducing their waste.
Transforming Everyday Items into Functional Decor
Using tin cans as planters allows individuals to turn everyday items into functional decor. Instead of cluttering landfills, these cans can serve as beautiful features in gardens. They can be painted, decorated, and personalized, becoming eye-catching pieces that enhance both gardens and homes.
Using tin cans as planters is a practical choice for environmentally-conscious gardeners. It is affordable, creative, and supported by a rich cultural history. Embracing this practice not only benefits individuals but also contributes positively to the planet.
Step-by-Step Guide to Creating DIY Tin Can Planters
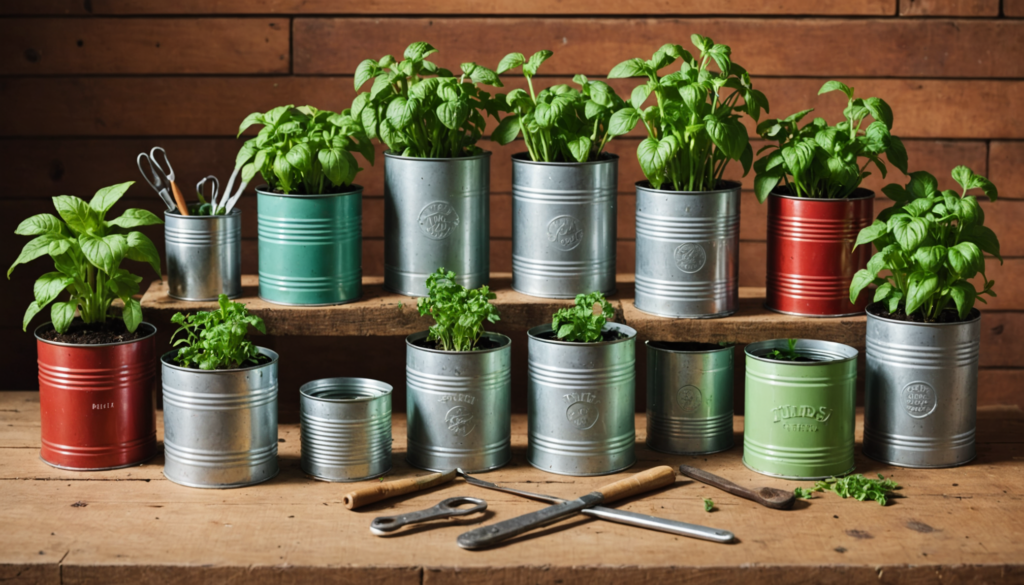
Step 1: Preparing Your Tin Can Planter
Selecting the Right Size and Type of Tin Can
Choosing the right tin can is crucial for this fun project. The size and type of can depend on the plants you want to grow. Sturdy soup cans or coffee cans work well because they can hold enough soil for most small plants. For larger plants, consider using bigger cans. A good rule of thumb is to select cans that are at least 6 inches tall and 4 inches wide to ensure optimal growth. If you’re considering growing vanilla bean plants, you’ll need to ensure that the can provides ample space for their root system, as these plants can become quite large. Additionally, make sure the can has adequate drainage holes to prevent waterlogging, which can hinder growth. By selecting the right size and type of can, you will create a thriving environment for your plants to flourish. When planning your garden, it’s essential to consider not only the type of can but also the specific needs of each plant. For example, if you’re wondering what size container for parsley is ideal, a pot that is at least 6 to 8 inches deep will encourage healthy root growth. Additionally, ensuring proper drainage holes in the cans will help prevent overwatering and promote a thriving growing environment.
Cleaning and Prepping the Can for Use
Before using the tin can, it must be cleaned properly. Start by removing any labels. Wash the can with soap and warm water to eliminate leftover food residue. Rinse it thoroughly to ensure no soap remains. This step is essential to prevent soil contamination and help the plants thrive. Once rinsed, let the can dry completely before moving to the next step.
Step 2: Creating Drainage Holes
Importance of Drainage for Plant Health
Drainage is vital for plant health. Without proper drainage, water can collect in the can, leading to waterlogging and root rot. Creating drainage holes in the bottom of the tin can is necessary to keep the plants healthy and growing strong.
Tools and Techniques for Effective Drainage
To make drainage holes, gather simple tools: a hammer and a nail, or a drill. If using a hammer and nail, carefully tap the nail into the can’s bottom several times to create small holes. If using a drill, set it to a low speed and drill a few evenly spaced holes. Aim for at least three to five holes to allow excess water to escape effectively.
Step 3: Painting and Decorating Your Planter
Choosing Safe Paints and Finishes
When decorating your tin can planter, select the right materials. Use non-toxic, plant-safe paint, such as acrylic paint. This type of paint is safe for plants and comes in many colors, allowing for endless creativity. Avoid toxic sprays or paints that could harm the plants or contaminate the soil.
Fun Decoration Ideas to Personalize Your Planter
Decorating your planter can be a fun and personal activity. Here are some creative ideas:
- Decoupage: Use gift wrap paper or old magazines to cover the can. Apply a layer of glue to attach the paper and a top coat to seal it.
- Stencils: Create patterns or designs using stencils to add a unique touch to the planter.
- Painting: Simply paint colorful designs or patterns directly on the can.
These methods provide opportunities for creative expression and enhance the overall look of the planter, making it a charming addition to any garden or home.
By following these steps, anyone can create beautiful and functional DIY tin can planters. This project not only promotes gardening but also encourages upcycling and creativity.
Citations
- Wikipedia – Tin Can Planters
- Gardening Know How – Container Gardening Basics
Plant Choices for Your Upcycled Planter
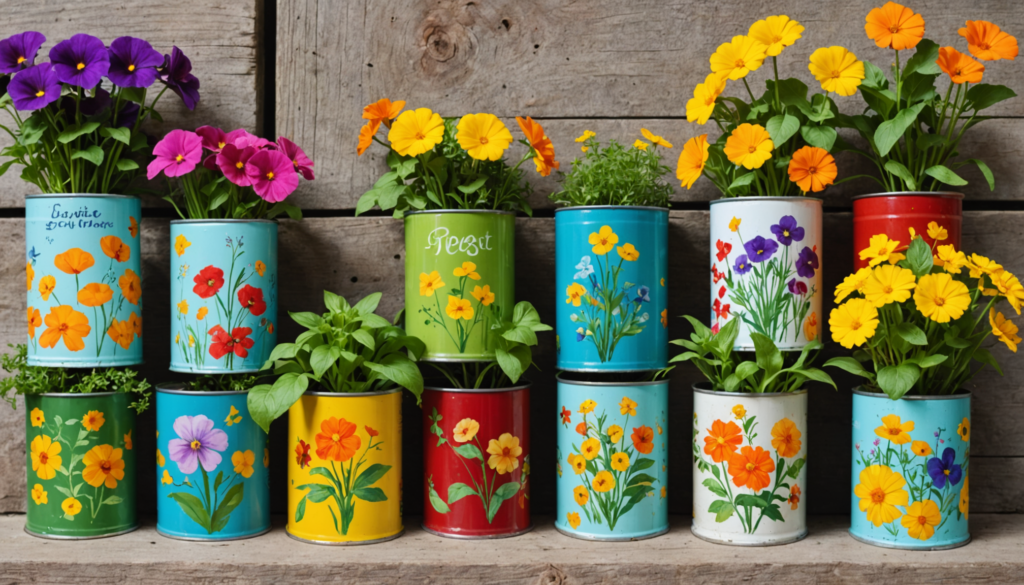
Which Herbs Thrive in Tin Can Pots?
Herbs are great for tin can pots because they usually have small root systems. Ideal choices include basil, mint, thyme, and parsley. These herbs love well-drained soil and need plenty of sunlight to grow strong.
Growing Tips:
- Make small holes in the bottom of the cans for drainage.
- Use high-quality potting soil to provide essential nutrients for healthy growth.
Best Herbs for Small Spaces
When space is tight, choosing compact herbs is key. Chives, cilantro, and oregano are excellent options for smaller areas. These herbs can thrive in limited space, making them perfect for tin cans.
Container Size:
- Use smaller cans for these herbs.
- Smaller containers help optimize growth and make maintenance easier.
Tips for Growing Culinary Herbs in Cans
To grow culinary herbs successfully in tin cans, consider these factors:
- Soil and Watering: Use a nutrient-rich potting mix. Ensure the cans have drainage holes to prevent excess water, which can cause root rot.
- Sunlight Requirements: Most culinary herbs need at least six hours of sunlight daily. Place the cans in bright spots, like a sunny kitchen window.
Flower Options for Your DIY Tin Planters
Flowers can brighten any space. Varieties like petunias, marigolds, and pansies do well in tin can planters. These flowers not only beautify but also add vibrant colors indoors and outdoors.
Seasonal Choices:
- Plant seasonal flowers to maintain visual interest throughout the year.
- Changing flowers seasonally keeps the gardening project fresh and engaging.
Colorful Flowers That Flourish in Containers
Some flowers are particularly suited to container gardening. Geraniums and impatiens are known for their bright colors and ability to thrive in tin cans.
These flowers add life and energy to areas lacking greenery. Their vibrant hues create an inviting atmosphere. Incorporating these blooms into your landscape can transform dull spaces into vibrant retreats. For those looking to make a bold statement, there are several purple flowering trees to consider that not only enhance the aesthetics but also provide shade and attract pollinators. These additions can create a lively environment that invites both relaxation and enjoyment.
Seasonal Flower Choices for Year-Round Appeal
To enjoy blooms throughout different seasons, mix perennials and annuals. This seasonal planning is crucial for continuous growth and a lively garden.
Selecting flowers that bloom at different times of the year ensures a colorful display all year round.
Unique Seeds for Vintage Planters
For a distinctive look, consider planting unique or heirloom varieties of flowers or herbs in your tin cans. These plants add character and charm to any garden.
Examples include rare culinary herbs or unusual flower types that may not be commonly available. They can inspire conversation and add a personal touch to the garden.
Exploring Uncommon Plants for Tin Can Gardens
Beyond traditional herbs and flowers, unique options like miniature tomatoes or dwarf peppers can thrive in larger tin cans. These provide not just a unique gardening experience but also edible rewards.
Such plants offer creative gardening opportunities, blending aesthetics and functionality for an exciting project. Exploring different types of calathea plants can elevate any garden design, as their vibrant foliage adds a unique touch to the overall landscape. These tropical beauties thrive in indoor settings as well, making them versatile choices for creating a harmonious atmosphere in your home. Incorporating various species can create a dynamic visual appeal, while also improving air quality and fostering a serene environment.
Experimenting with Edible Flowers
Edible flowers bring a fun twist to gardening. Flowers like nasturtiums and violets enhance the beauty of the garden and can be used in culinary dishes.
These flowers can add flavor to salads or desserts, making gardening both visually appealing and delicious.
References
- Gardening Know How
- Better Homes & Gardens
Creative Decoration Techniques for Tin Can Planters
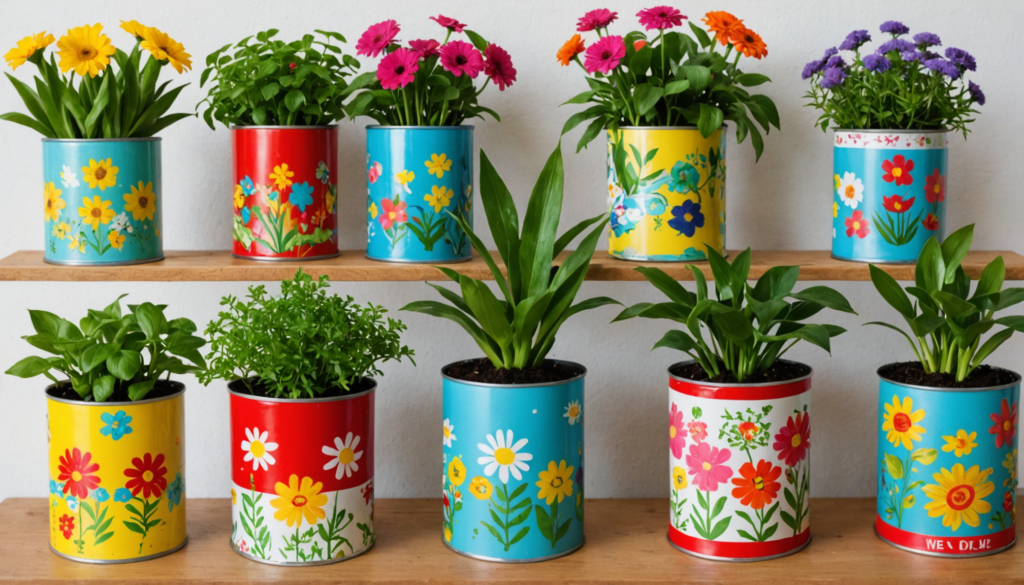
Transforming tin cans into lovely planters is a fun and rewarding project. There are many creative decoration techniques that can make tin can planters unique and charming. Here are some effective methods to consider.
Using Decoupage for Cute Tin Can Planters
Decoupage adds color and personality to tin can planters. This technique uses decorative paper or fabric and glue to cover the can, allowing for personal expression.
Materials Needed for Decoupage Projects
To start a decoupage project, gather these materials:
- Old magazines, decorative paper, or napkins
- Mod Podge or other glue
- Scissors
- Paintbrush or foam brush
- Optional: Sealer spray for added durability
Step-by-Step Decoupage Instructions
- Prepare the Can: Clean and dry the tin can. Remove any labels for a smooth surface.
- Cut the Decorative Paper: Cut the decorative paper or napkin into pieces that will fit your can.
- Apply Glue: Use a paintbrush to spread a layer of glue on the can.
- Add Paper: Place the paper onto the glue, smoothing out wrinkles or air bubbles.
- Seal the Design: After the paper is in place, apply another layer of glue over it to seal the design. Let it dry completely.
Painting Ideas for a Rustic Look
Painting tin cans gives them a rustic or vintage feel. Acrylic paint works well for this purpose. Here are some ideas:
- Use light colors like white or pastel shades for a soft, weathered look.
- Layer different shades to create depth and texture.
- Use a sponge or brush to add a mottled effect.
Techniques for Achieving a Vintage Aesthetic
To enhance the vintage look of painted cans, try these techniques:
- Distressing: Lightly sand the edges of the painted can with sandpaper to reveal the metal underneath. This creates a worn and rustic appearance.
- Darkening: Apply a dark wash of paint over the light colors and quickly wipe it off to leave a subtle antique finish.
Using Stencils and Patterns for Custom Designs
Stencils create unique patterns on tin can planters. Here’s how to use them:
- Select a stencil design that suits your style.
- Secure the stencil on the can with tape to prevent movement.
- Use a sponge or brush to apply paint over the stencil. Carefully lift the stencil to reveal your design.
Adding Vintage Appeal with Napkins and Glue
Napkins can create layers and textures. Here’s how to use them:
- Tear sections of decorative napkins and layer them on the can.
- Apply glue over the napkin pieces to adhere them properly.
- This method adds depth and visual interest to the planter.
Combining Textures for Unique Decor
Mixing different materials can create a stunning look. Consider these combinations:
- Wrap twine or lace around the top of the can for a charming detail.
- Use fabric scraps or burlap for a rustic touch.
- Add decorative pebbles around the base or on the surface for additional texture.
Creative Uses for Old Napkins in Decoration
Old napkins can be repurposed in various ways:
- Use them in decoupage as mentioned above.
- Cut them into shapes and glue them on the cans for a playful design.
- Create ribbons or bows from napkin fabric to embellish the finished can.
By using these creative decoration techniques, anyone can turn simple tin cans into lovely planters that add charm to any garden or interior space. This process promotes upcycling and encourages artistic expression in gardening.
References:
- Wikipedia
- DIY Network
Tips for Maintenance and Long-term Care of Your Planters
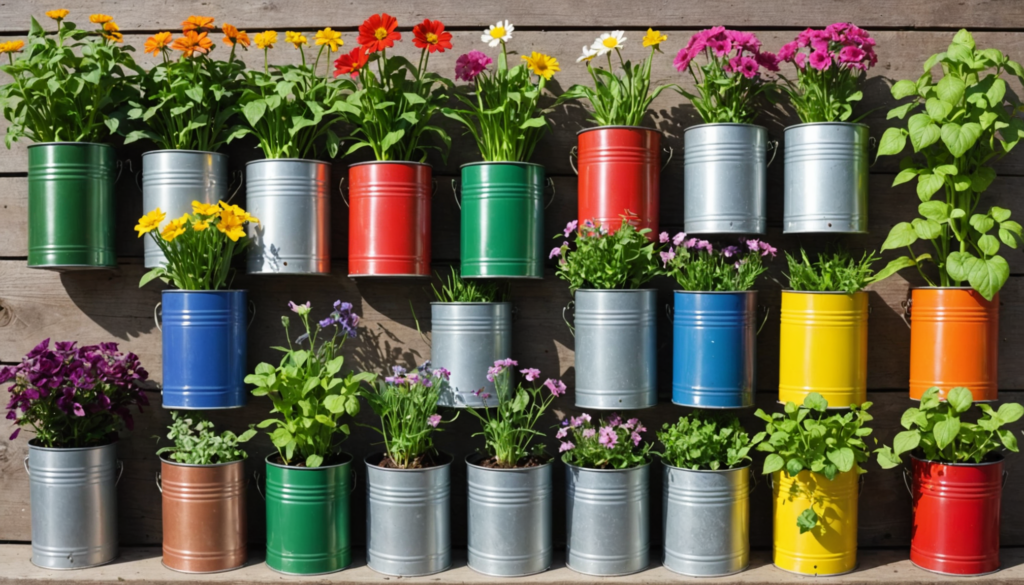
Maintaining tin can planters is essential for healthy plant growth. Proper care results in vibrant flowers and fresh herbs. Here are key tips for maintaining and caring for tin can planters over time.
Understanding Drainage Needs for Optimal Growth
Good drainage is vital for healthy plants. When using tin cans as planters, creating drainage holes is crucial. Without these holes, excess water can build up and lead to root rot, which can kill plants.
- Expert Recommendation: Before planting, use a hammer and a nail to make several small holes in the bottom of each tin can. This allows excess water to escape, promoting a healthier root system.
How to Prevent Root Rot in Tin Can Planters
Root rot happens when roots sit in soggy soil for too long. To keep plants healthy, it’s necessary to monitor soil moisture levels.
- Preventive Measures:
- Use a well-draining potting mix.
- Add materials like perlite or gravel to improve drainage.
- Regularly check the moisture level of the soil and allow drying periods between waterings to prevent soggy soil.
Regular Maintenance Practices for Healthy Plants
Regular care helps plants in tin cans thrive. Here are some key maintenance practices:
- Watering Schedule: Plants in tin cans usually need more water than those in the ground. Check the soil moisture often to determine if it needs watering.
- Fertilization: Using a diluted liquid fertilizer during the growing season is helpful. This provides essential nutrients, but avoid over-fertilizing, as this can harm plants.
Seasonal Care for Your Upcycled Planter
Caring for tin can planters varies by season. Adjusting care based on the time of year helps keep plants healthy. In spring, it’s important to ensure proper drainage and moisture levels as temperatures rise. For those interested in gardening, knowing when to plant strawberries in Georgia can make a significant difference in yield and plant health. During the fall, you may need to protect them from frost and provide adequate insulation as temperatures drop.
- Adjusting Care for Different Seasons:
- In warm months, plants may need daily watering.
- In cooler months, watering can be done less frequently.
- Protecting Plants from Harsh Weather Conditions:
- Bring plants indoors during extreme weather.
- When left outside, insulate cans with burlap or bubble wrap to protect roots from freezing.
Common Mistakes to Avoid with Tin Can Planters
Avoiding common mistakes can help plants flourish. Here are two significant mistakes to watch for:
- Overwatering and Its Consequences: Overwatering is a frequent issue. Always let the soil dry out between waterings. This helps prevent root rot and keeps plants healthy.
- Choosing Inappropriate Plants for Your Setup: Select plants that thrive in small containers. Herbs and small flowering plants work well in tin can planters. Avoid larger plants that need more space.
By following these tips, anyone can enjoy a thriving garden using tin cans as planters. With proper maintenance and long-term care, these planters can remain a beautiful and functional addition to any home.
Citations:
- Proper drainage is crucial for plant health. Use a hammer and nail to create several small holes in the bottom of the tin can before planting. This allows excess water to escape, promoting healthier root systems. [Actual Source Name]
- Regularly check the moisture level and allow for drying periods between watering to prevent root rot. [Actual Source Name]
- Plants in tin can planters generally require more frequent watering than ground-planted plants due to the limited soil volume. [Actual Source Name]
Conclusion
Using old tin cans as planters is not only a fun and creative project, but it also helps the environment by reducing waste! You learned about the benefits of these eco-friendly planters, how to prepare them with actual drainage holes, and even some fun decoration techniques to make them unique. Plus, you now have ideas for which herbs and flowers thrive in small spaces.
So, why not gather some tin cans and start your own upcycling adventure today? You’ll create colorful planters that not only look great but also give your garden a personal touch. Happy gardening, and remember to keep experimenting with your brilliant gardening upcycle ideas!
FAQs
1. What are the best plants for tin can planters?
Tin can planters are great for herbs like basil, mint, and chives, small flowering plants like pansies and marigolds, and succulents. These low-maintenance plants thrive in limited spaces and add beauty to any home or garden.
2. How do I prevent my tin can planters from rusting?
Rust can damage metal planters. To prevent it, coat the interior with sealant or paint, create drainage holes at the bottom, and regularly check for excess moisture. These steps will help your tin can planters last longer and keep your plants healthy.
3. Can I use any tin can for planting?
Most tin cans can be repurposed as planters. However, avoid cans that held acidic foods like tomatoes, as they may release harmful chemicals. Ensure thorough cleaning and use food-grade cans whenever possible. Choose the appropriate can size based on the plant’s root system. By following these guidelines, you can create safe and effective planters for your plants.
