How To Get Rid Of Mint In Garden: Gardening Guide to Kill Mint
The mint plant is regularly favored by gardening enthusiasts for its captivating scent and varied uses in cooking. Imagine the rejuvenating sensation of homemade mojitos and calming fresh teas, all made from the convenience of your own garden. However, beneath the allure of this attractive herb lurks a powerful invader. This robust plant tends to propagate swiftly across our valued garden areas because of its abundant growth.
Trust me when I say, what starts as an innocent, fragrant corner can soon transform into an unyielding sea of green, threatening to smother the diversity of your lovingly curated beds.
But fear not; you’re in good company on this verdant battlefield. Like you, I’ve grappled with these persistent runners weaving through my soil. With diligent research and some hands-on experimentation, I’ve discovered effective strategies for rescuing your beloved plots from the grasp of wayward mint varieties.
My forthcoming guide is brimming with natural tactics that bypass the need for harsh chemicals while safeguarding both our precious environment and the well-being of other plants sharing your garden’s habitat.
Together we’ll navigate a path towards harmony in the garden once more!
Key Takeaways
- Boiling water poured directly onto mint plants can kill them by scorching the leaves and roots.
- Uprooting mint requires removing the entire root system; even small pieces left behind can regrow.
- Salt and vinegar are natural, chemical-free ways to kill mint but must be used carefully so they don’t harm other plants.
Understanding the Behavior and Growth Patterns of Mint Plants in Your Garden
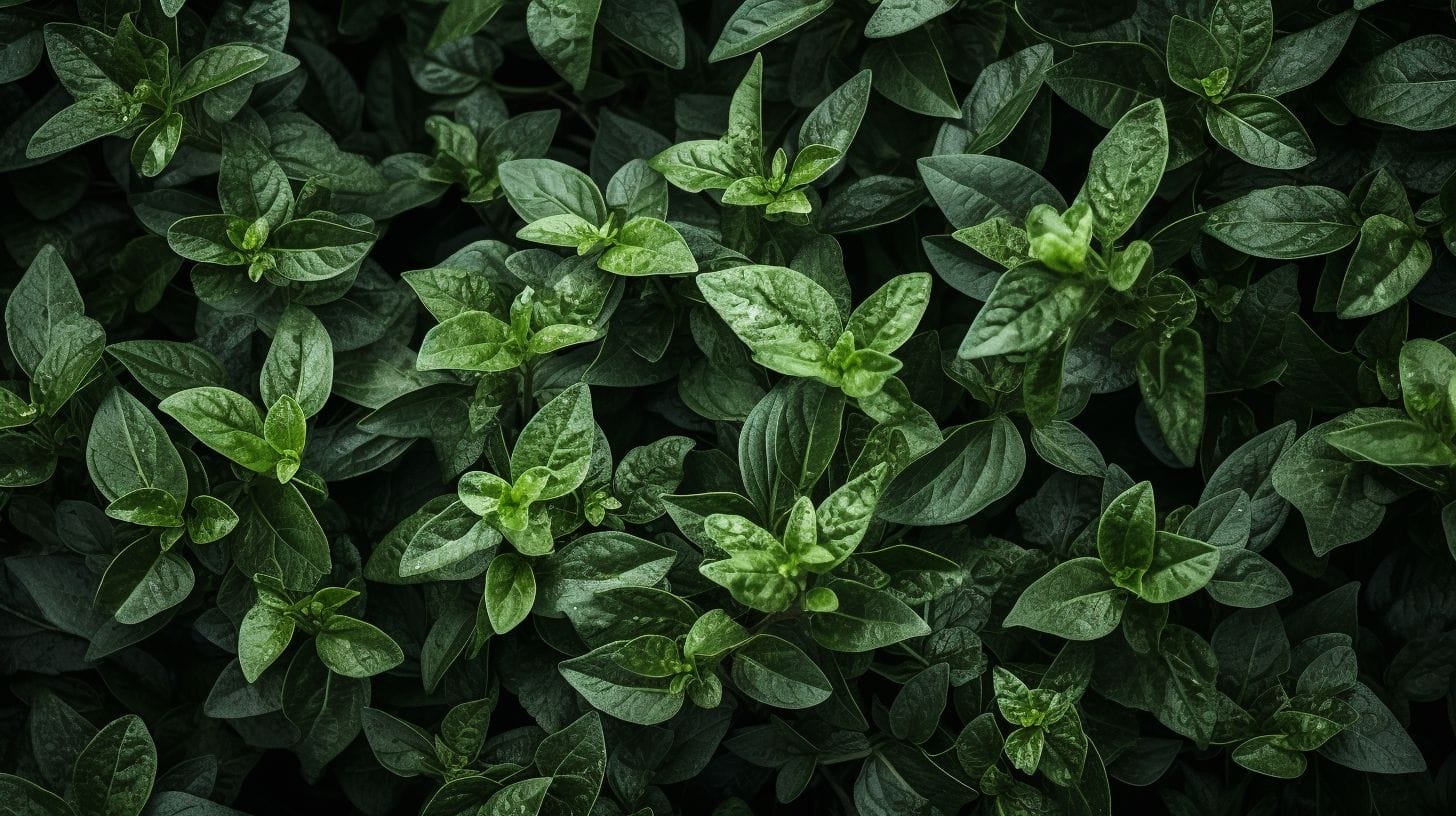
To truly get a handle on mint in your garden, we first need to dive deep into its world – understanding the behavior and growth patterns of these tenacious plants is key. Mint species, known for their aggressive spreading through rhizomes and stolons, can swiftly take over garden spaces if left unchecked.
They thrive in a range of environments but particularly favor moist soils with good sunlight exposure. Recognizing signs of mint expansion early on is crucial; it’s not just about spotting the rampant shoots above ground but also being aware that an extensive network lies beneath, poised to further colonize your garden beds.
As you become familiar with how mint operates in your outdoor sanctuary, you’ll be better equipped to formulate an effective strategy to manage this fragrant yet invasive herb.
Identifying the type of mint you have in your garden
I like to know what kind of mint is growing before I try to stop it. Spearmint and peppermint are common and look a lot alike, but you can tell them apart by their smell. Crush a leaf and take a sniff – peppermint is strong and sharp, while spearmint has a lighter, sweeter scent.
There are other types too, like apple mint with furry leaves or chocolate mint that hints at dessert. Knowing the mint type helps me choose the right way to deal with it because some kinds spread faster than others.
Recognizing common signs of mint overgrowth and its impact on other plants
Mint can really take over a garden if we’re not careful. It spreads fast and can soon crowd out other plants. You might see lots of mint shoots popping up everywhere, and even where you don’t want them to be.
This is how you know it’s taking over too much space. Mint’s roots, called rhizomes, grow wide and long under the soil, making more mint plants as they go along. If this happens a lot, the other plants in your garden may struggle because they have to fight for water, sunlight, and nutrients that the mint is hogging all for itself.
To keep your garden healthy and diverse, watch out for these signs of too much mint. Make sure there’s enough room for all your different plants to grow well together. If you see any new little green leaves that look like mint away from where you planted it or where its container is – that’s a sign! Take action quickly before it affects other parts of your garden that need their own space to thrive.
Analyzing the environmental factors that aid the growth of mint plants
Mint plants love lots of light and water. They do best in soil that drains well but holds some moisture too. This kind of soil stops the roots from getting too wet which can hurt the plant.
Adding things like compost or peat moss to the dirt helps mint grow happy and strong. Having a pH between 6 and 7 is just right for mint.
I also make sure my mint gets enough shade during really hot days so it doesn’t dry out. It’s important for me to keep an eye on how much I’m watering my potted mint because it shouldn’t sit in puddles.
Regular checks help stop root problems before they start, keeping my herb lush and green.
Thorough Inspection and Preparation Before Initiating the Mint Control Process
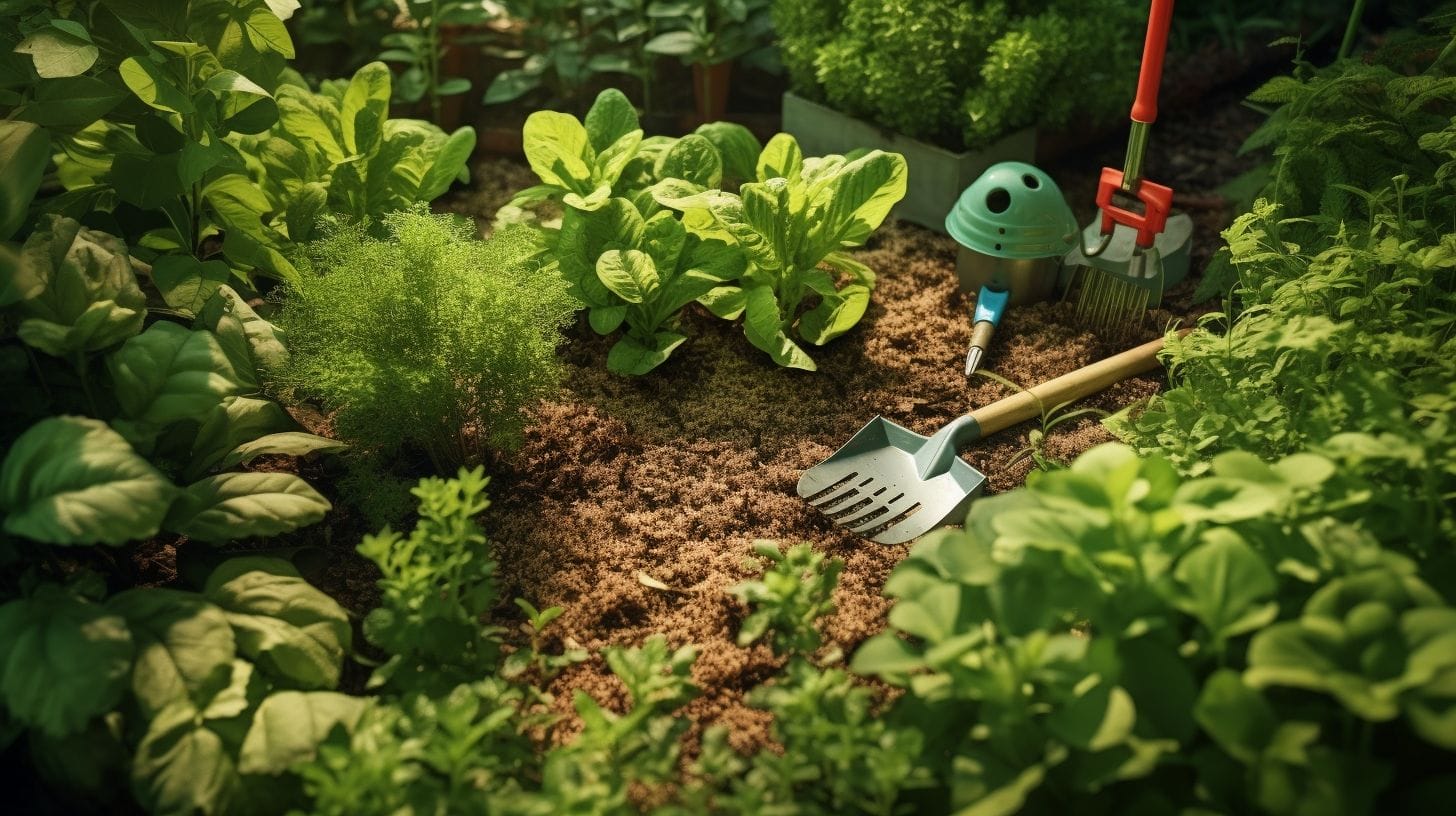
Before you declare war on invasive mint in your garden, a thorough inspection is key. Equip yourself with the right tools and safety gear, find that rogue mint hiding among other plants, and choose the optimal time to begin your removal strategy – clear skies ahead can make all the difference.
Performing an area inspection to locate mint overgrowth
Mint can take over a garden quickly. To find where it’s growing too much, you need to look closely and be ready to dig in.
- Start by walking through your garden. Look for places where mint seems thicker or is spreading into other plants’ spaces.
- Clear away mulch or leaves near the edges of your mint plants. This helps you see new shoots that might be hiding.
- Check for the minty smell of rhizomes under the soil. They are like thin white strands with small roots all along them.
- Use your hands to gently move soil around the plant base. You want to find how far the root system goes.
- Look beyond where you planted mint. Sometimes it can spread further than you expect, even outside of garden beds.
- Remember to check between other plants, too. Mint likes to grow in sneaky spots and could choke out smaller flowers or veggies.
- Put on garden gloves and carefully dig around a mint plant. See if you can follow one of its long roots to where it ends.
- Write down or mark areas where you find lots of mint growth. It’s helpful for when you start removing it later.
- Keep an eye out for tiny mint sprouts in unexpected places, especially after clearing some space in your garden.
Preparing essential tools and safety gear for removing mint
Getting rid of mint in the garden means you need the right tools and to protect yourself. Here’s what you’ll need and why it’s important:
- Hand trowel: This small tool helps dig out the roots of the mint. It lets you get close to the ground to pull out all pieces of the plant.
- Shovel or garden fork: You’ll use these for bigger areas where mint has spread a lot. They help turn the soil and remove large chunks of roots.
- Gloves: Wear gloves to keep your hands safe from sharp edges and from touching mint directly, which might irritate your skin.
- Protective clothing: Long sleeves and pants will also stop your skin from getting irritated by mint or dirt as you work in the garden.
- Garden waste bags: Have these ready to throw away all parts of the mint plants. You want to get rid of them so they don’t grow back.
Analyzing the best times and weather conditions to initiate the process
I like to start getting rid of mint in the early spring or late fall. Mint plants are busy growing then, so they soak up what I use to kill them better. A dry and sunny day is best for this job because everything works better when the leaves aren’t wet.
If it’s cloudy or might rain, I wait for another day to make sure my hard work pays off.
Choosing the right moment makes a big difference. It’s all about being smart with your time and picking a day that helps you win against those tough mint plants that don’t want to leave your garden.
The sun plays on my team during this game—it dries out the mint and gives my natural remedies an extra kick.
Step-by-step Way to Take Control and Get Rid of Mint Plants Naturally
Mastering the art of eradicating invasive mint from your garden hinges on a strategic, step-by-step approach – one that harnesses the power of nature to reclaim and revitalize your treasured green space.
Dive in for insightful guidance on natural removal tactics awaiting your discovery!
Detailed instructions on how to kill mint plants using boiling water
Mint can take over your garden fast. But you can stop it using boiling water. Here’s how to do it safely:
- Get a large pot and fill it with water. Put it on the stove and heat until it boils.
- Wear long pants, closed – toe shoes, and gloves to protect yourself from burns.
- Grab the pot by the handle with an oven mitt or potholder once the water is bubbling hot.
- Walk carefully to the mint area in your garden.
- Pour the boiling water slowly right on top of the mint plants. Aim for the base of the plants where they come out of the soil.
- Be very careful not to splash boiling water on yourself or other plants you want to keep.
- The hot water will scorch the mint leaves and kill the roots underneath.
- You might have to do this a few times if you see new mint sprouts.
Understanding the process of uprooting and removing mint plants
Uprooting mint plants means pulling them out of the ground. It’s important to get the whole root so they don’t grow back. First, I make sure my tools are ready. A shovel or garden fork is good for this job.
I use gloves to protect my hands too.
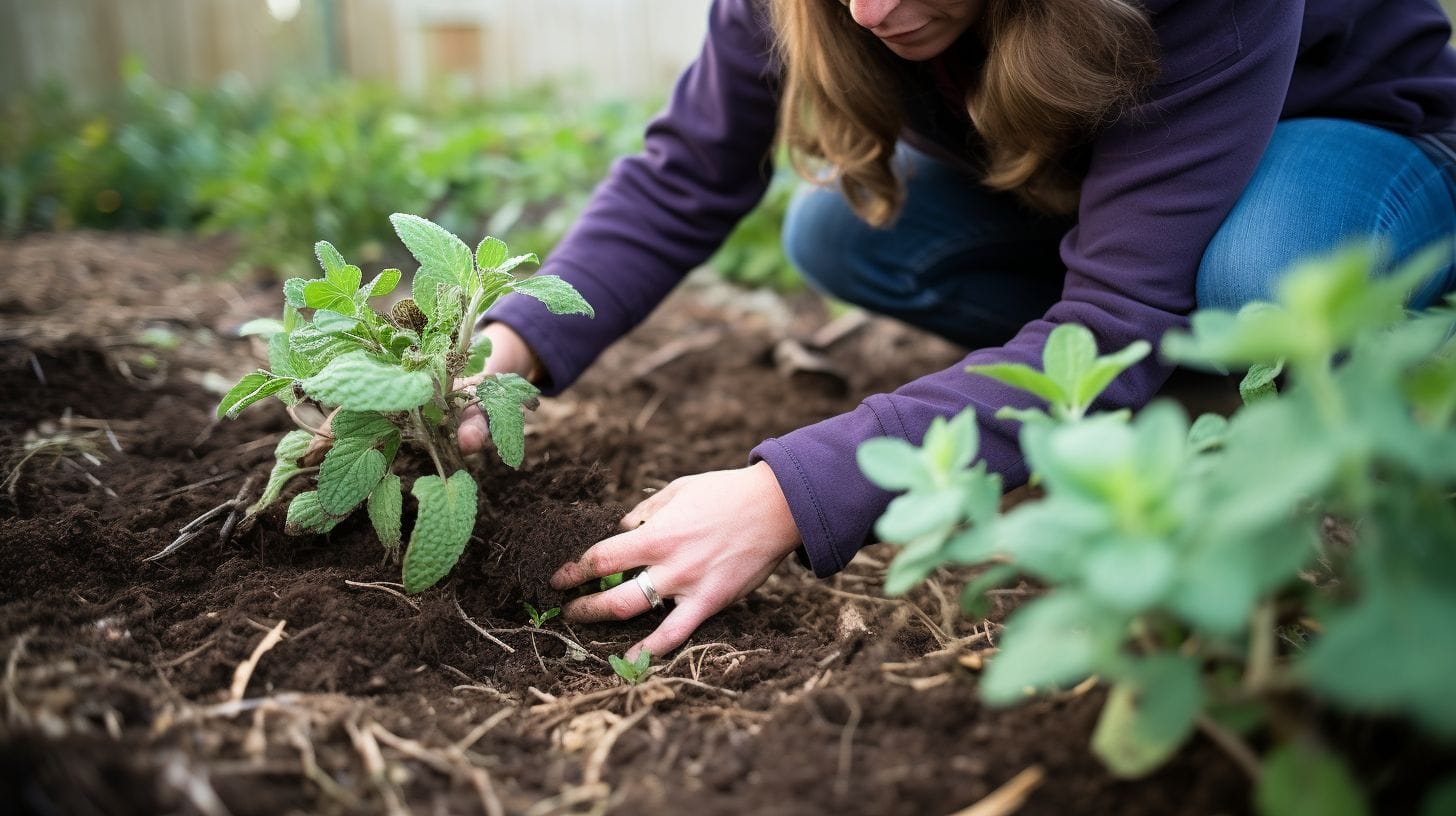
I start by digging around the mint plant to loosen the soil. This makes it easier to pull out all of it, including the roots which can be deep and spread wide. Then, I grab near the base of the plant and pull up with a firm tug, making sure to shake off any loose dirt so left behind roots become visible.
If parts break off and stay in the ground, that’s okay! I just go back and dig those pieces out as well. After that, if more mint pops up later on, I repeat these steps until no more comes back – which might take some time and patience but is worth it for a tidy garden without unwanted mint taking over!
Importance of completing the mint removal process in one go for effective results
To stop mint from coming back, you must get rid of it all at once. If you leave even a little bit, it can grow again and spread across your garden fast. Think about mint like a puzzle where every piece needs to be removed; missing one means the picture isn’t complete.
Take your time to pull out every root and stem because doing this job right the first time saves you more work later.
Chemical-Free Methods for Killing Mint Plants in Your Garden
In our battle against invasive mint, we turn to chemical-free methods that safeguard the rest of the garden. High salt concentrations can dehydrate and kill mint plants, but we must apply it judiciously to avoid harming other plant life.
Solarization offers an eco-friendly solution by harnessing the power of the sun to heat and sterilize soil, effectively killing off mint roots without chemicals. Meanwhile, a targeted vinegar solution delivers a potent natural herbicide directly to unwanted mint growth.
By employing these techniques thoughtfully, we ensure not only effective removal but also responsible stewardship of our cherished green spaces.
Using high salt concentration: does it work on mint plants?
I’ve heard some folks talk about using salt to kill mint in their garden. It’s true, if you use a lot of salt, it can dry out the plants and stop them from growing. But there’s a big downside to this method.
After you put all that salt in the soil, nothing else will want to grow there either. So if you’re thinking about using salt on your mint problem, remember that it might hurt more than just those pesky plants.
If I ever need to remove mint without hurting my garden for good, I would think twice before using salt. It might get rid of the mint now but could make it hard for me to grow anything in that spot later on.
Solarizing the area: an eco-friendly way to kill mint
You can kill mint without hurting your garden or the earth. Just use the power from the sun. This is called solarizing. You cover your mint with clear plastic sheets and leave it for six weeks in hot weather.
The sun’s heat gets trapped, and it cooks the mint roots until they’re dead. It’s a smart way to stop that wild mint without any bad chemicals.
This method doesn’t just get rid of the mint; it also cleans the soil so other weeds won’t grow back quick. And you don’t need to worry about harming bugs, birds, or good plants nearby either.
If you love nature and want to keep gardening safe and green, try this sunlight trick on your pesky mint problem.
Guidance on using vinegar solution for controlling mint growth
Vinegar is a great way to stop mint from spreading all over your garden. It’s safe, easy to find, and won’t hurt the earth. Mix one gallon of white vinegar with a cup of salt and add a splash of dish soap.
This mix makes the solution stick to the leaves better. Wait for a sunny day when it’s hotter than 60 degrees outside before you spray directly on the mint leaves. Be careful not to get this on plants you like because it can kill them too.
After spraying, give it some time. You might need to do it a few times, but keep at it! The mint will die off because the vinegar mix stops it from getting water and food.
Can Roundup Kill Mint in My Garden?
Using the spraying Roundup before planting schedule can be detrimental to the growth of mint in your garden. Mint is a resilient plant, but Roundup contains glyphosate, which can harm it. To protect your mint, avoid spraying Roundup near or around the plant, and instead opt for alternative methods of weed control.
Maintaining Your Garden Post Mint Removal and Preventing Future Overgrowth
Effectively maintaining your garden after you’ve conquered the mint invasion is critical to preventing it from taking over once more. Regular monitoring of the area where mint used to flourish is paramount; any signs of regrowth should be addressed promptly to nip it in the bud.
Integrating crop rotation into your gardening routine can serve as a natural deterrent, keeping soil conditions dynamic and less hospitable to returning mint plants. Moreover, establishing protective measures such as mulching helps preserve garden health and acts as a barrier against unwanted plant intruders, ensuring that your efforts are not undone and your garden remains mint-free.
Regular garden check-ups to monitor any signs of mint regrowth
Keeping an eye on your garden for mint coming back is key. You’ve got to look closely, since even a tiny piece left behind can start the whole problem over. Check the spots where you took out the mint before.
Look for any little green shoots. Pull them up right away and get those roots too. This way, your garden stays just how you want it.
I make it a habit to walk through my garden often, always watching for unwanted mint sprouts. It’s like playing detective in my own backyard! If I find any, I take charge at once by digging deep to remove every bit of root I can find.
It feels good keeping the garden clean and giving other plants their space to grow.
Rotating crops: a natural control for mint returningRotating crops in your garden helps mix things up and can keep mint from coming back. Different plants take different nutrients from the soil, and they also leave behind other good stuff that next season’s plants will need.
So when you change what you’re growing in one spot each year, it can stop the mint from getting everything it needs to grow big and strong again.
For instance, after pulling out all the mint, you might plant tomatoes or beans there next time. These kinds of plants aren’t like mint at all; they don’t spread out with runners underground.
And because they’re so different, the little bits of mint left in the soil won’t feel as cozy coming back. Plus, rotating crops is a smart way to keep your whole garden healthy and happy over time!
Protecting the area after getting rid of mint: mulching and other methods
After you clear mint from your garden, mulching is a great way to keep it from coming back. You can put down a thick layer of newspaper first. Then add wood chips or straw on top. This blocks the light and stops new mint plants from growing.
Other ways to protect your garden include planting different crops in the area where the mint was or putting in physical barriers like edging or borders around your beds.
You might also grow plants that don’t like the same conditions as mint next to where it used to be. These plants will compete with any leftover mint and help keep it away. Always look for small bits of mint that try to grow back and pull them out right away so they don’t spread again.
Conclusion
We now know mint can be a tough plant in our gardens. But with the right steps, we can beat it. Boiling water, pulling plants out, and natural mixes like vinegar help us win. Remember to cover soil with things like plastic or mulch after to keep mint away.
We have learned that keeping an eye on our garden stops mint from coming back. Let’s use these tools and say goodbye to unwanted mint for good!
FAQs
1. What is the best way to get rid of mint in my garden?
To eliminate mint, you can dig out the plants, making sure to remove all roots and rhizomes or use black plastic sheeting to smother patches of mint.
2. Can mints kill other plants in my garden?
Yes, mint spreads quickly and can take over gardens, choking out other desirable plants if it’s not kept in check.
3. Is there a homemade mixture that kills weeds like mint?
You can create a weed killer using kitchen ingredients; however, for invasive plants like mint, digging them up or using commercial herbicides may be more effective.
4. How do I stop growing mint from taking over my entire garden?
Planting varieties of mints in raised beds with barriers buried inches deep into the ground can prevent them from invading your entire garden.
5. Can I just prune the top part of the plant to control my mint patch?
Just pruning alone will not kill the plant because pieces left underground might grow back; removing every piece of root is necessary to fully get rid of it.
6. Are there any gardening tips for planting mints so they don’t spread as much?
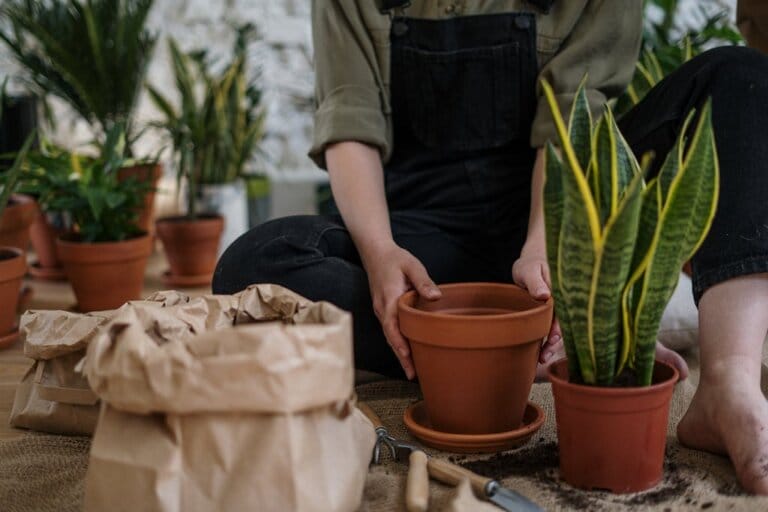
Use container gardening by placing mints in pots with potting mix before setting them into your vegetable garden or flower bed; this helps manage their growth.

