I am excited to lead you on an exhilarating adventure into the realm of hydroponics. We initiate our exploration with the basic but critical procedure of understanding how to initiate hydroponic seeds, guaranteeing their effective germination and development, all specifically tailored for this modern agricultural technique.
I’ll walk you through choosing the right grow medium, sowing your seeds, and transplanting your seedlings.
We’ll also tackle common hurdles you might face.
So, let’s roll up our sleeves and dive into the fascinating process of starting hydroponic seeds.
Key Takeaways
- Hydroponic gardening is a soil-less cultivation method.
- Hydroponic seed germination is cleaner, faster, and requires less space.
- Choosing the right seeds and grow medium is crucial for a successful hydroculture garden.
- Balancing moisture levels and providing optimal conditions for germination are essential for effective seed germination for this system.
Delving into the Basics of Hydroponic Seed Starting
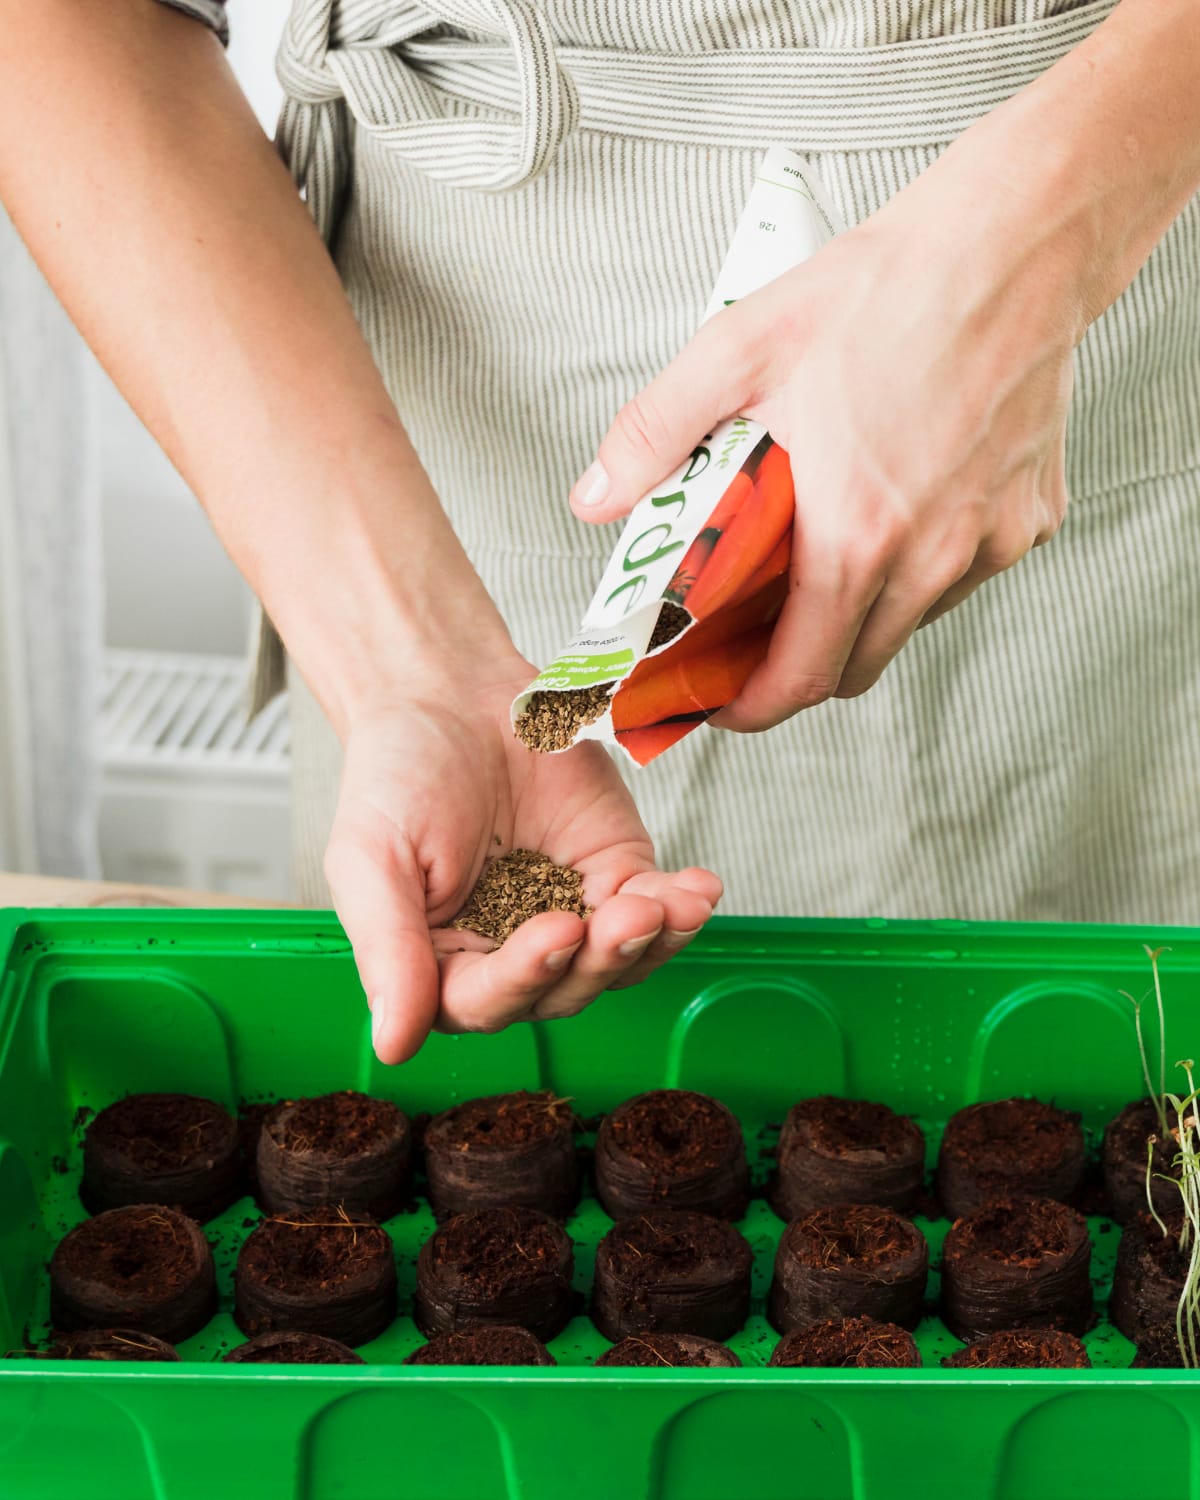
As I delve into the basics of hydroponic seeds, there’s a whole new world of gardening to discover. It’s not just about understanding the process and benefits but also recognizing the key differences between traditional and hydroponic seed-starting methods.
Choosing the right seeds for hydroponics is paramount for a successful hydroculture garden, and I can’t wait to guide you through it.
Understanding the Process and Benefits of Hydroponic Gardening
I’ve found that its benefits are really amazing, and the process isn’t as complicated as it may seem at first. Once you get the hang of it, maintaining your system becomes like second nature.
Here are key points to keep in mind:
- Plants grow faster and yield more.
- Saves water compared to traditional methods.
- It’s a clean form of gardening with no soil-related diseases or pests.
- It can be set up anywhere, even in small spaces.
- With a hydroculture garden, you control the nutrients your plants receive.
In essence, its benefits are numerous. It’s a rewarding pursuit and a fantastic way to cultivate plants in a controlled, efficient manner.
Key Differences between Traditional and Hydroponic Seed Starting Methods
When it comes to kicking off my gardening season, there’s a noticeable difference between going the traditional route and using a soil-less cultivation method.
Traditional seed-starting methods require a lot of time, effort, and space. You must prepare the soil, ensure proper drainage, and constantly monitor your seeds for diseases.
On the other hand, hydroponic seed spud is a game-changer. It’s cleaner, faster, and requires less space. I start in a sterile, soil-less medium, providing it with nutrient-rich water, and voila! I’m growing plants without soil.
The key differences between traditional and hydroponic seed spud methods are evident in the efficiency, cleanliness, and level of control I’ve over the growing conditions of my seeds.
Choosing the Right Seeds for a Successful Hydroponic Garden
Choosing the right plants for my soil-less garden is crucial for its success. When choosing the right seeds for a successful hydroculture garden, I consider several factors.
I’ve learned that not all seeds are created equal, and the best seeds for this are often specific seed varieties. Here’s a list of criteria I use when buying seeds:
- Type of Plant: Some plants are better suited for this system than others.
- Seed Quality: High-quality seeds offer a better chance of germination.
- Seed Size: Small seeds might be more challenging to handle and germinate.
- Growth Rate: Fast-growing varieties are often more successful.
- Resistance to Disease: Hydroponic plants can still be susceptible to diseases, so resistant varieties are key.
These considerations ensure my garden thrives.
The Importance of Choosing the Appropriate Grow Medium
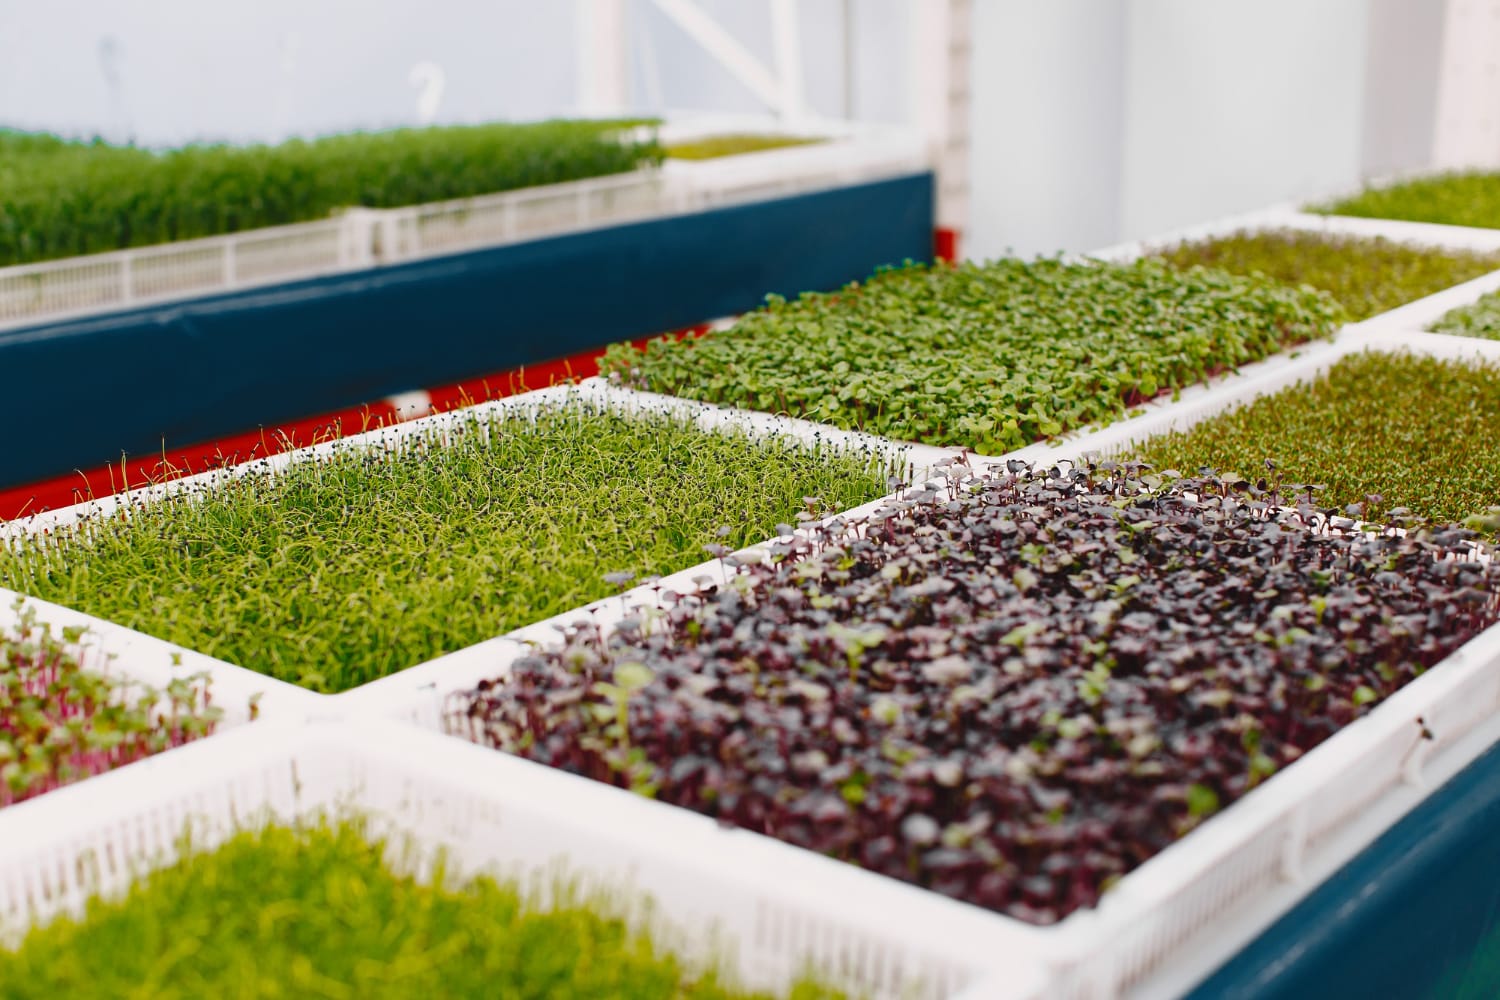
Choosing the right substrate can’t be overstated. It’s not just about giving your seeds a place to spud; it’s about providing the right environment for their survival and growth.
Let’s delve into some popular options, their benefits, and how to use them effectively.
Rockwool: The Most Popular Medium for Hydroponic Seedlings
I’ve found that Rockwool is the most popular medium for starting sprouts. It provides an optimal environment for seed spud and growth, an easy way to get your system up and running.
Here are some reasons why Rockwool is the go-to medium for many growers:
- It’s great at retaining water, which is crucial for spuds.
- It provides excellent aeration, promoting healthy root growth.
- It’s sterile, eliminating the risk of disease that can harm your seedlings.
- It’s easy to handle and transfer, making it convenient for growers.
- It’s widely available and affordable, a bonus for starting out.
Coco Coir: A Sustainable and Effective Alternative
Moving away from Rockwool, let’s delve into coco coir, a sustainable and effective alternative.
As a hydroponic grower, I’ve found coco coir an excellent choice to start seeds. Coco coir is a renewable, eco-friendly substrate extracted from the husk of coconuts.
It’s perfect for seed shoots due to its excellent water-holding capacity and good aeration. Its neutral pH and natural resistance to fungal growth make it ideal for nurturing young seedlings.
Plus, it’s reusable, a huge bonus for those who aim for sustainability. So, if you’re looking for an alternative to Rockwool, Coco Coir might just be what you need.
It’s helped me, and I’m confident it can work wonders for other growers.
Plants Directly in Water: The Kratky Method
Diving into another alternative, let’s talk about the Kratky Method, where you grow plants directly in water, and it’s been a game changer for me. This is a passive hydroculture system, which means it doesn’t require pumps or electricity. All you need to start seeds is a container, nutrients, and seeds. Here’s how I do it:
- Fill a container with nutrient-filled water
- Place the seeds in a net pot
- Hang the net pot above the water
- The roots will grow down into the water
- As the water level drops, air roots form, which take in oxygen
Using this method, I’ve seen how it uses space and resources efficiently in this system.
The Kratky method is simple, effective, and a great entry point into this system.
Steps to Germinate Seeds Effectively for Your Hydroponics System
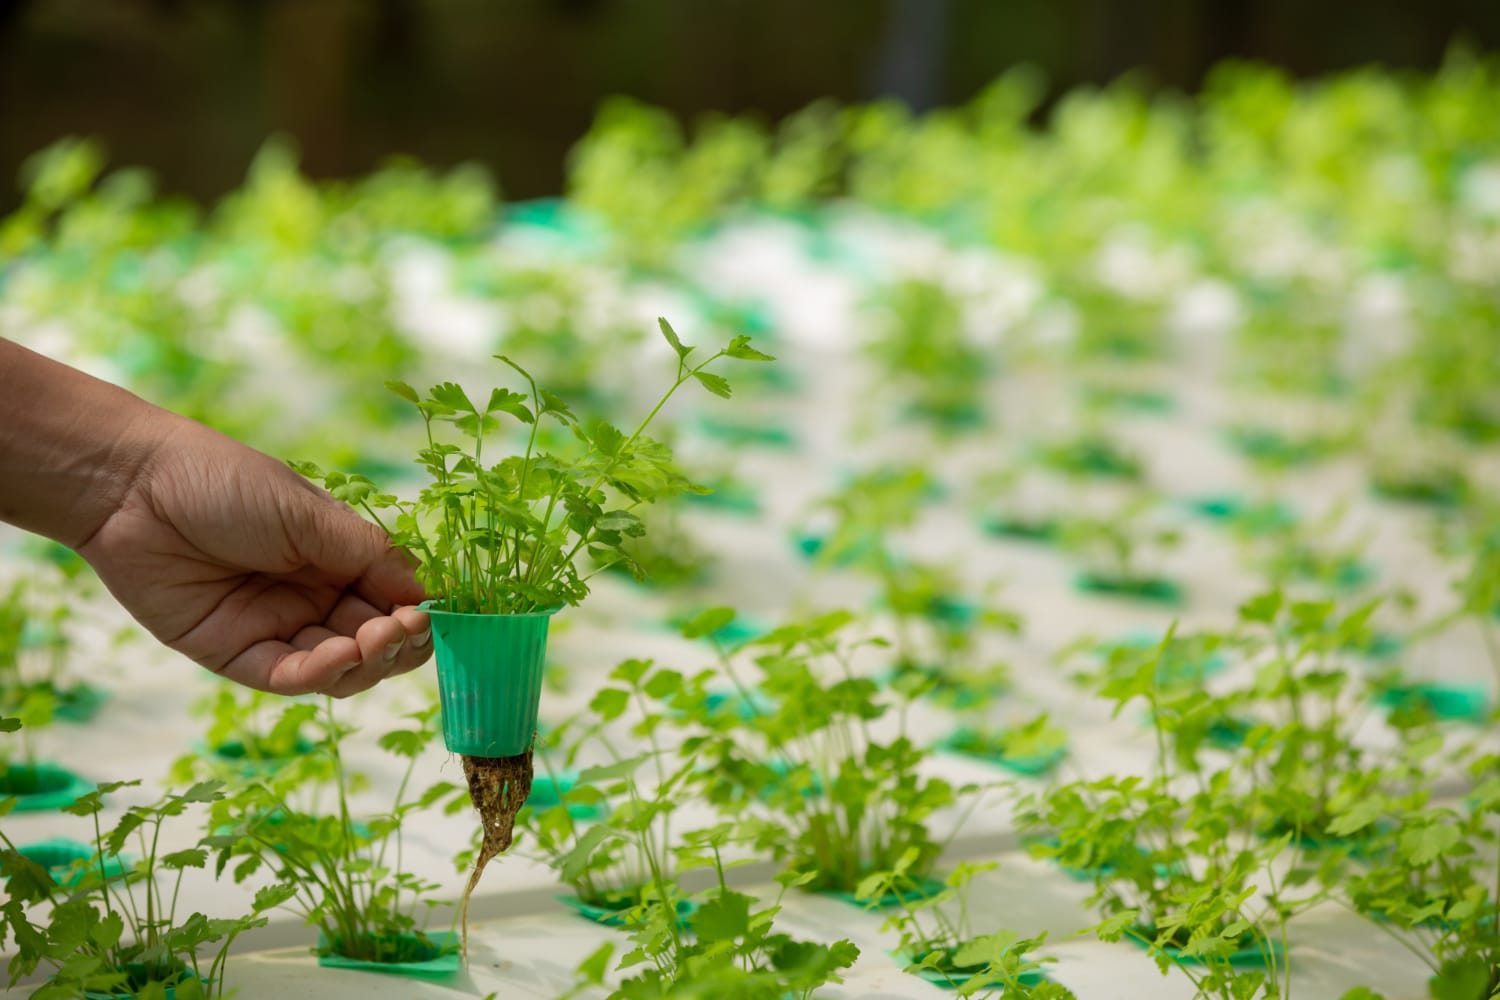
After selecting the right growing medium, it’s time to get down to the nitty-gritty of germinating your seeds for your system.
I’ll guide you through preparing and moisturizing your chosen medium, planting your seeds just right, and creating the perfect conditions for germination.
Let’s dive in, shall we?
Preparing and Moisturizing Your Chosen Grow Medium
I’ve found that the first step is to properly prepare and moisturize my chosen substrate for the seeds. This is critical for successful seed starting in a hydroculture system. It’s all about balancing moisture levels and oxygen availability, key factors for optimal seed germination.
Here are some steps I follow when prepping:
- Choose the right substrate, like coconut coir or rock wool, that suits this system well.
- Soak the media thoroughly, ensuring it’s well-hydrated but not waterlogged.
- Adjust its pH level to match the seeds’ needs.
- Pre-treat it if needed, like soaking rock wool in a mild acidic solution.
- Plant the seeds by spacing them properly for optimal growth.
Planting Your Seeds: How Deep and How Many?
Now that we’ve prepped our substrate let’s delve into planting your seeds.
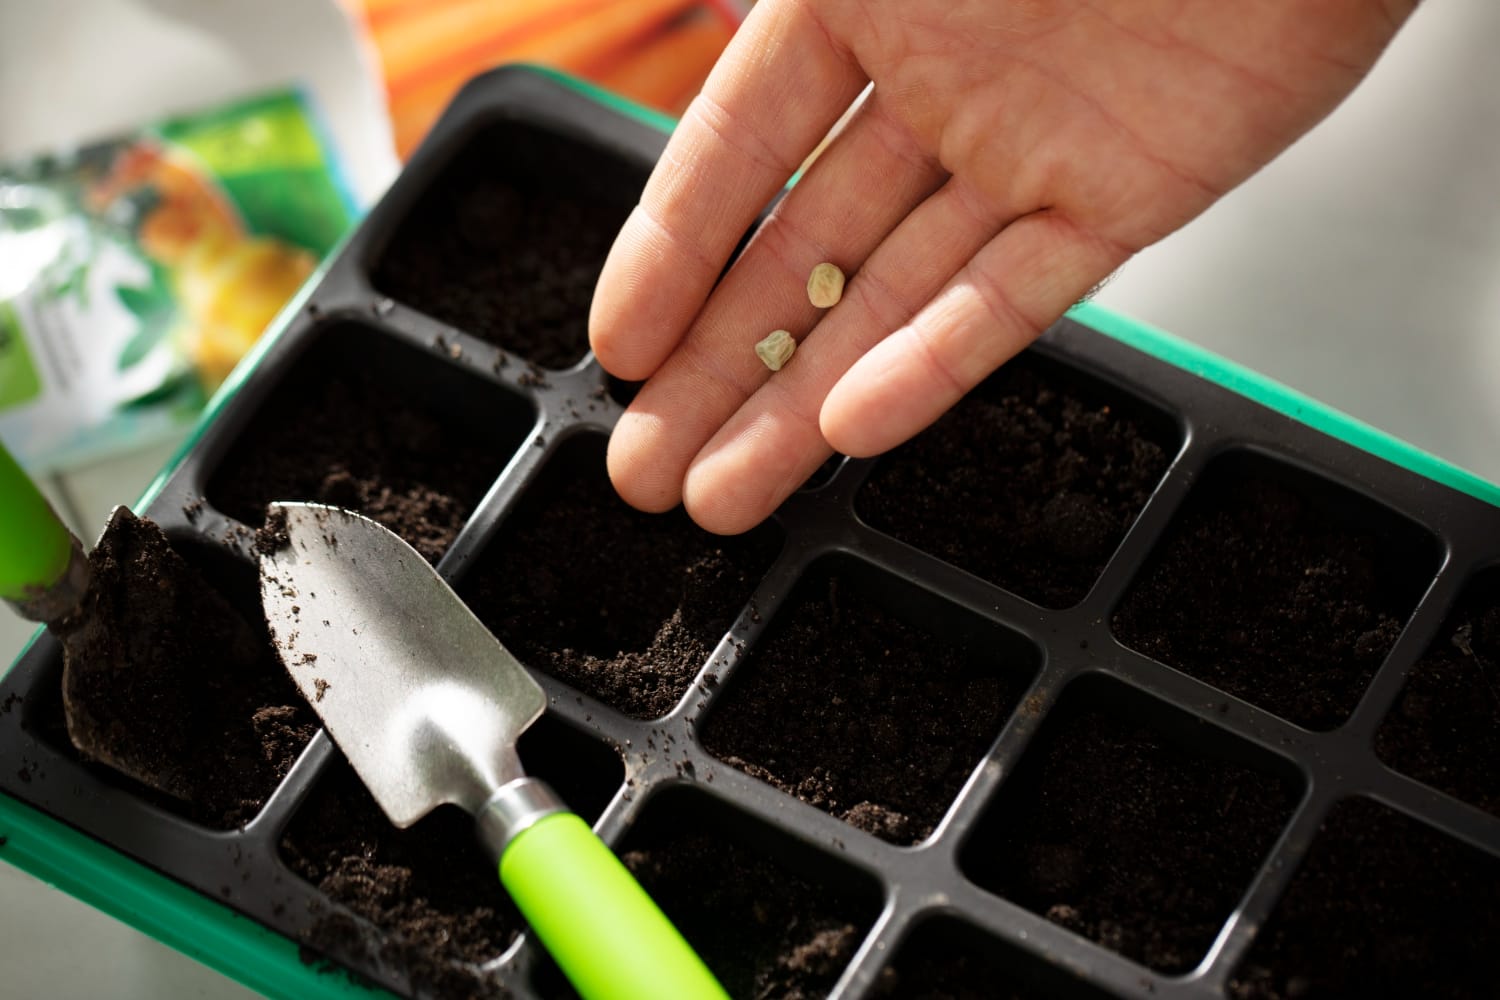
The depth and quantity of seeds per hole are crucial for optimal growth. I recommend placing one seed in each hole. This prevents competition, ensuring each seed has ample access to nutrients.
When covering the seeds, a light layer of media is sufficient. We don’t want to bury our seeds inside too deep; a quarter of an inch is perfect. This depth allows the seedling to break through the surface easily while still being protected.
Best Conditions for Encouraging Seed Germination: Temperature and Light
Moving on to our next topic, let’s discuss creating the perfect conditions for seed sprouting, focusing primarily on temperature and light. Understanding the right temperature range and light conditions is crucial to germinating seeds successfully. It directly impacts the germination process and, ultimately, the germination rate.
Consider these essential points:
- Maintain optimal temperature: Different seeds have diverse temperature needs. However, most seeds germinate well in temperatures between 65-75°F.
- Use a grow light: It’s an excellent way to provide consistent and adjustable light exposure, indispensable for seed shoots.
- Monitor moisture levels: Seeds need moisture to germinate but avoid overwatering.
- Provide proper air circulation: It reduces the risk of fungal diseases.
- Respect the seeds’ dormancy period: Some seeds need a cold period before germinating.
Mastering these conditions can significantly improve your seed shoot success.
Transplanting Your Seedlings
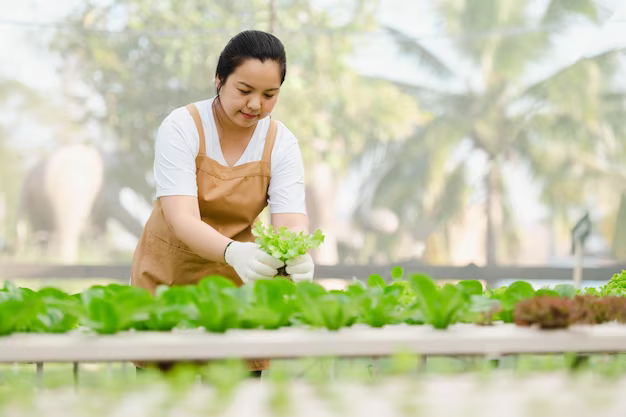
Now that we’ve successfully germinated our seeds, it’s time to move on to the next crucial step – transplanting our hydroponic sprouts.
I’ll guide you on when it’s best to do this and how to safely extract the seedlings from the growing media.
We’ll also discuss how to ensure a smooth transition for your plants into the system.
Identifying the Right Time to Transplant Seedlings in Hydroponics System
I’ve found that determining the right time to transplant seedlings in a hydroponics system can greatly impact their subsequent growth and health. Identifying the right time to transplant in a hydroculture system requires keen observation and knowledge of your plants’ development stages. Here are some signs that it’s ready for transfer:
- The roots are well-developed and sturdy.
- It has at least 2-3 true leaves.
- You notice robust growth and vibrant green color.
- It’s of a suitable size for the hydroculture system.
- It shows no signs of disease or pests.
Safely Extracting Your Seedlings from the Grow Medium
Once you’ve determined it’s the right time, the next big task at hand is safely extracting your seedlings from the growing media without causing them any harm. Whether you’re dealing with saplings from a store or you’ve chosen to start seeds hydroponically, this step is critical in your growing journey.
First, you’ve got to be gentle. You can’t rush this process. I like to lightly tease the roots free, ensuring I don’t damage the delicate plant.
Once free, I clean the roots with a gentle stream of water to remove any remaining growth media. By following these steps, you’re ensuring the best possible start for your growing journey.
After all, safely extracting your plantlet is key to their future growth and productivity.
Ensuring a Smooth Transition for Your Plants into the Hydroponic System
It’s crucial for me to ensure a smooth transition for my plants into their new aquatic home to set them up for success in their growth and productivity. When starting your seeds, it’s vital to remember that the environment they’re moving into is entirely different from soil-based growing.
Here’s what I usually do to ensure a smooth transition:
- I pre-soak my seeds in a solution to get them accustomed to their new environment.
- I keep the system’s temperature and humidity levels constant.
- I ensure that my system’s lighting is set up properly.
- I carefully monitor the pH levels of the solution.
- I gradually introduced the plants into their new system to avoid shocking them.
Common Mistakes and Challenges in Hydroponic Seed Starting and How to Overcome Them
After transferring my sprouts, I’ve encountered a few common mistakes and challenges.
It’s not always a walk in the park, but I’ve learned how to overcome these hurdles.
Let’s delve into avoiding overcrowding in the seed tray, preventing fungal diseases, and understanding the importance of proper pH and nutrient levels.
Avoid Overcrowding in the Seed Tray for Healthier Seedlings
I’ve learned from experience that ensuring not to overcrowd the seed tray is key to raising healthier seedlings. When they start to grow in an overcrowded environment, they compete for resources, which can hinder their development. As you start seeds, remember to give them ample space to thrive.
To avoid overcrowding:
- Ensure each seed has its own cell in the seed tray.
- Thin seedlings early if you’ve planted multiple seeds per cell.
- Provide ample light to it to avoid legginess.
- Monitor its growth regularly and remove any that show signs of disease.
- Don’t rush the transfer process; allow enough time to grow strong roots.
Preventing Damping Off and Other Fungal Diseases in Your Hydroponic Nursery
Moving on from avoiding overcrowding, let’s tackle an equally important aspect – preventing damping off and other fungal diseases in your nursery.
When starting seeds, it’s crucial to remember that your seed is susceptible to fungi, which can devastate your growth system. Fungal diseases like damping off can halt your best efforts in their tracks.
I’ve learned that one of the most effective ways to combat this is by maintaining a clean environment and monitoring humidity levels. Regularly disinfect your system, avoid overwatering, and ensure good air circulation.
The Necessity of Proper pH and Nutrient Levels in Your Hydroponic System
In addition to battling fungal diseases, it’s crucial for me to keep a close eye on the pH and nutrient levels in my system, as they’re fundamental to the success of my plant growth. As I start growing my plants, I’ve learned that a proper balance of these two aspects is a significant factor in my guide to seed starting.
Here are the key steps to ensure ideal pH and nutrient levels:
- Regularly test the pH levels of the water.
- Use quality nutrients specifically designed for this system.
- Adjust the pH after adding nutrients.
- Have a system for circulating and aerating the water.
- Change the nutrient solution regularly.
These measures help me plant seeds effectively, even seeds for a system like this without rock wool. It’s all about creating an optimal environment for growth.
After mastering how to start hydroponic seeds with our comprehensive guide, discover the 5 best heirloom seeds every prepper should have in their survival toolkit!
Frequently Asked Questions
What Are Some Cost-Effective Hydroponic Systems Suitable for Beginners?
If you’re looking for cost-effective hydroponic systems suitable for beginners, I’d recommend starting with a deep water culture system. It’s simple, affordable, and a great way to learn its basics.
How Long Does It Usually Take for Seeds to Sprout?
In my experience, this sprouting typically ranges from 1 to 2 weeks. However, it’s essential to remember that this can vary depending on the seed type and growing conditions.
Are There Any Specific Types of Seeds That Perform Better in a Hydroponic Environment?
In my experience, leafy greens like lettuce and herbs such as basil perform notably well in these systems. They quickly grow, require less space, and adapt well to the water-based environment.
What Are the Measures to Take if My Seeds Aren’t Germinating?
If your seeds aren’t germinating, you must check a few things. Ensure they’re getting enough warmth, light, and moisture. You might also want to verify the seeds’ viability or try a different batch.
Can Hydroponic Plants Be Transferred to Soil, and if So, How?
First, gently remove the plant from its medium. Then, re-pot it in nutrient-rich soil, fully covering the roots. Water it regularly.
Conclusion
Starting seeds isn’t as daunting as it might seem. Sure, you’ll need to get your hands on the right grow medium and follow the steps for effective germination.
Transplanting your seedlings might be a bit tricky, but it’s doable. Even if you stumble into some common mistakes, there’s always a way out.
Trust me, once you get the hang of it, you’ll wonder why you didn’t start your hydroponic garden sooner.
