Noticing black leaves on your beloved ZZ plant can be alarming, but don’t worry – you’re not alone in facing this common indoor gardening challenge. When ZZ plant leaves turning black appears, it’s your plant’s way of signaling that something in its care routine needs attention. The good news is that these resilient houseplants can bounce back with the right care adjustments.
Understanding the causes behind blackening leaves is crucial for maintaining your ZZ plant’s health and preventing permanent damage. Whether it’s overwatering, improper lighting, or temperature stress, identifying the root cause will help you take swift action. In this guide, we’ll explore the main reasons behind black leaves and share expert tips for restoring your ZZ plant to its glossy, vibrant state. Get ready to become a ZZ plant pro and keep your indoor garden thriving!
Understanding ZZ Plant Leaves Turning Black
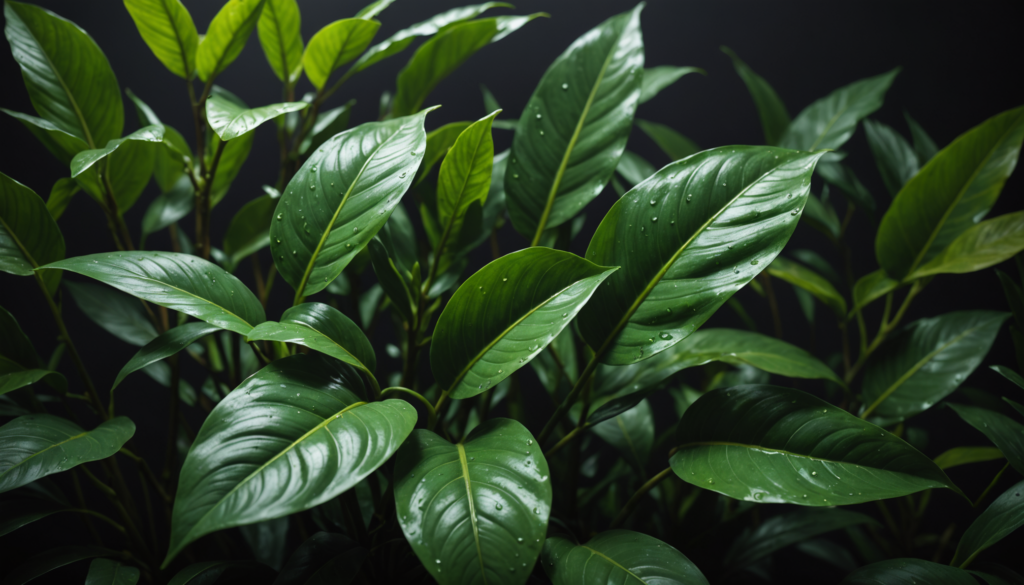
I notice that black leaves on this houseplant often begin with small dark patches, then progress into larger spots. Blackening usually means the roots struggle with moisture or the plant experiences extreme temperature shifts.
Common Causes of ZZ Plant Leaves Turning Black
Root rot is the biggest threat to a ZZ plant’s leaves. It forms when water collects around the roots and prevents them from breathing. Cold drafts below 45°F can also damage tissue and blacken the foliage. Physical harm, such as bumping the stems or mishandling the plant, may lead to dark bruises. In some cases, leaves simply age and drop off as part of natural growth. (Gregg)
How Watering Habits Affect Your ZZ Plant
I find that watering patterns have a direct impact on root rot. Overwatering drowns the rhizomes and causes mushy stems. To keep your ZZ healthy, let the top two or three inches of soil dry out completely between waterings. Empty any drainage tray right away to avoid soggy soil conditions that scorch the leaves.
The Role of Soil in ZZ Plant Health
A well-draining mix stops excess water from pooling around the roots. I use two parts potting soil with one part perlite and one part orchid bark to ensure proper drainage. This blend allows airflow and keeps the roots from staying moist for too long. Maintaining a pH between 6.0 and 7.0 also helps your plant thrive.
Early Warning Signs to Watch For
Yellowing leaves often appear before black spots form. Soft, water-soaked edges on the leaf surface hint that root problems may be starting. A foul odor from the pot or soil that feels constantly damp also signals overwatering. Taking action at these early stages prevents the entire stem from turning black.
I focus on simple yet thorough steps to keep ZZ Plant Leaves Turning Black at bay. My goal is to highlight core care methods that help this drought-tolerant houseplant maintain vibrant foliage and avoid black spots caused by overwatering or poor drainage.
Essential ZZ Plant Care for Healthy Leaves
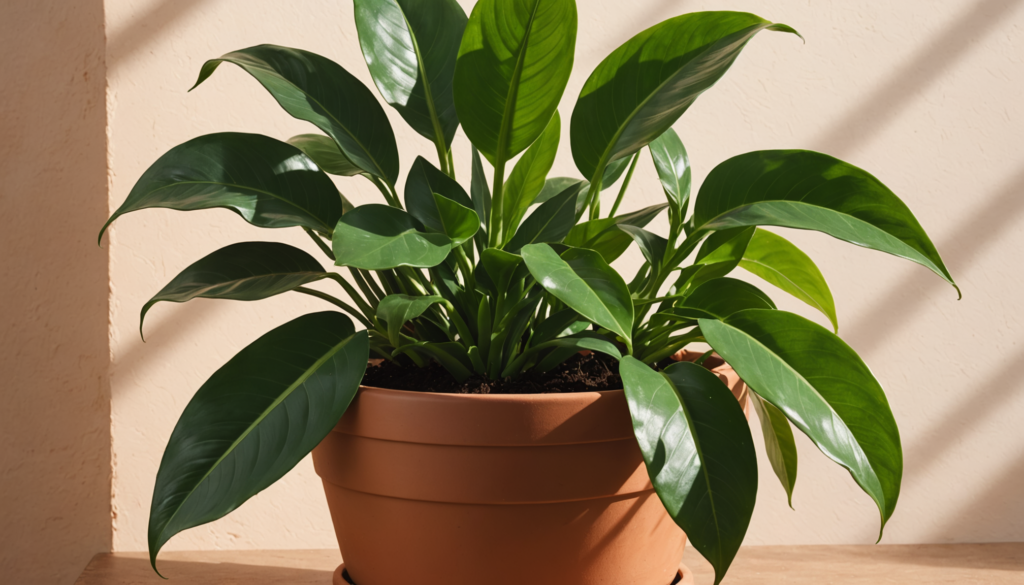
Optimizing Watering for Your ZZ Plant
I allow the soil to dry out completely between waterings. That prevents root rot and mushy stems that often blacken the leaves. I check moisture by inserting my finger a few inches into the potting mix; if it feels dry, I water thoroughly but let extra water drain away.
Importance of Pot Selection for ZZ Plants
I choose pots with drainage holes that are just slightly larger than the current one. This approach keeps the root system comfortable and helps avoid soggy soil. A well-draining material, like terracotta, allows proper airflow and guards against excess moisture buildup.
Signs Your ZZ Plant Needs Repotting
I look for roots popping out of drainage holes and soil that dries too quickly. A top-heavy plant is another clue that it needs more space. Repotting every two to three years helps prevent cramped roots and keeps the plant’s leaves healthy.
Seasonal Care Adjustments
I alter my watering schedule and fertilizing routine based on seasonal needs. In spring and summer, I provide moderate water plus light feeding. In cooler months, I back off on watering and avoid placing my ZZ plant near cold drafts.
| Season | Watering | Fertilizer | Maintenance |
|---|---|---|---|
| Spring/Summer | Moderate | Light | Check humidity |
| Fall/Winter | Minimal | None | Steady temps |
Overwatering and Its Impact on ZZ Plant Leaves
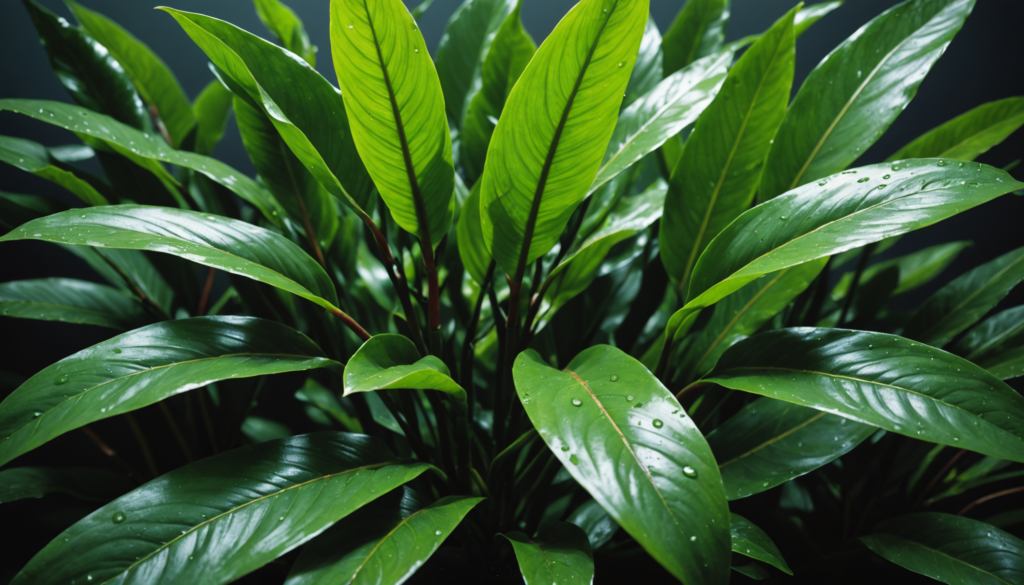
Overwatering is a major reason for ZZ plant leaves turning black. This drought-tolerant houseplant stores water in its rhizomes and becomes susceptible to root rot when soil remains soggy. According to Penn State Extension, excess moisture leads to fungus growth and decay. Research from University of Minnesota Extension also confirms that stagnant water is a primary trigger for blackened foliage.
Identifying Symptoms of Overwatering in ZZ Plants
Black spots, mushy stems, and a foul smell from the potting soil often signal problems. Overwatered leaves turn yellow before they blacken, while stems near the soil level soften. Mold may appear on the soil surface. In contrast, healthy ZZ plant foliage looks glossy and firm.
| Plant Part | Healthy Condition | Overwatered State |
|---|---|---|
| Leaves | Dark green, firm | Yellow to black, soft |
| Stems | Sturdy, upright | Mushy, drooping |
| Roots | White, firm | Brown or black, rotting |
| Soil | Slightly dry top | Constantly wet |
Balancing Water Needs: Underwatering vs. Overwatering
Too much water causes blackening and root rot, while too little leads to crispy leaves and wrinkled stems. ZZ plants are known to tolerate low moisture levels, yet they cannot thrive in extremes. Checking soil dryness before watering prevents overwatering or underwatering.
Adjusting Watering Routine for Your ZZ Plant
Proper watering involves allowing the top few inches of soil to dry out completely between waterings. Many growers reduce watering frequency by half during winter. Drainage holes help remove excess water, and emptying the tray within 30 minutes prevents lingering moisture.
Recovery Steps for Overwatered Plants
Removing the plant from soggy potting soil is crucial. Trimming black roots and using a fresh, well-draining mix with perlite can also lead to healthier growth. Fungicide may protect remaining roots, and placing the plant in bright indirect light won’t scorch the leaves. Waiting one or two weeks before the next watering allows the plant to adjust to its new pot.
Addressing Pests and Fungal Issues on ZZ Plant Leaves
Common Pests Affecting ZZ Plants and Solutions
I often see spider mites attacking ZZ plants when moisture is low. These tiny bugs form delicate webs around stems and can multiply quickly. I remove them with insecticidal soap and keep the houseplant’s leaves clean to prevent infestations. Scale insects appear as brown bumps and thrive in warm, dry environments.
| Pest Type | Identification | Treatment |
|---|---|---|
| Spider Mites | Fine webbing on stems | Insecticidal soap or spray |
| Mealybugs | White, fuzzy patches | Alcohol-dipped cotton swab |
| Scale Insects | Brown bumps on stems | Neem oil application |
Fungal Infections: Signs and Treatments for ZZ Plant Leaves
I notice ZZ Plant Leaves Turning Black when root rot sets in. This condition often stems from excess water and soggy potting soil. Cutting away mushy stems and using well-draining soil helps prevent fungal spread. Gardening Know How recommends copper-based fungicide for persistent black spots on foliage.
Maintaining Humidity for ZZ Plants
I keep ZZ plants in normal home humidity (40-50%) to avoid fungal outbreaks. Low humidity allows spider mites to flourish, and high humidity may blacken foliage. I place the plant near a humidifier if dryness persists. This approach helps me avoid placing ZZ plants in conditions that promote disease.
Preventive Care Measures
I rely on consistent checks to keep your ZZ plants strong. Weekly inspection catches brown or yellowing leaves before they worsen. A stable watering schedule and extra drainage (such as perlite) reduce the risk of root rot. Regular leaf cleaning with a damp cloth supports healthy growth and prevents unwanted pests.
Optimizing Environment for Your ZZ Plant’s Health
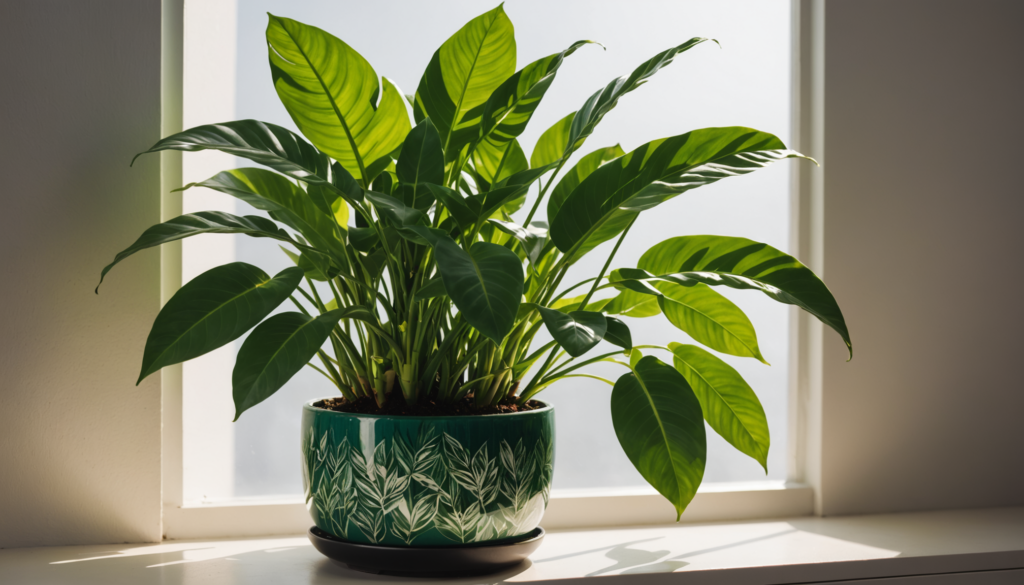
Proper indoor conditions reduce the chance of ZZ plant leaves turning black. This hardy houseplant needs stable temperatures, moderate light, balanced nutrition, and fresh air to thrive. Following these guidelines helps ensure strong growth and glossy foliage.
Ideal Temperature Range for ZZ Plants
ZZ plants prefer temperatures between 65–75°F (18–24°C) and can tolerate 55–85°F (13–29°C). They may blacken if exposed to temperatures below 50°F (10°C). Maintaining a steady indoor climate helps prevent stress.
- Place the plant away from cold drafts and open doors
- Keep distance from heating or cooling vents
- Bring plants indoors when outside temps drop under 55°F
- Monitor temperature in all seasons
Lighting Conditions for Healthy ZZ Plant Growth
ZZ plants adapt to low or bright indirect light. Direct sun can scorch the leaves and lead to black spots. Use medium light for best growth.
- Set plants three to six feet from a bright window
- Use sheer curtains to filter harsh sunlight
- Rotate regularly to discourage uneven growth
- Watch for leggy stems if light is too dim
Feeding Your ZZ Plant: Nutrient Requirements and Tips
Balanced fertilizing prevents nutrient shortages and helps keep leaves vibrant. It’s best to use a 10-10-10 water-soluble mix.
| Season | Fertilizer Schedule | Type |
|---|---|---|
| Spring/Summer | Every 2-3 months | Balanced 10-10-10 |
| Fall | Reduced feeding | Half-strength |
| Winter | No fertilizer | N/A |
- Apply fertilizer to moist soil only
- Flush soil twice a year to remove salt buildup
- Look for brown leaf tips as a sign of over-fertilization
Air Quality and Ventilation
Good airflow and moderate humidity (40–50%) help prevent issues like fungal growth or blackened foliage. Keep leaves dust-free and avoiding chemical fumes.
- Clean leaves monthly with a damp cloth
- Group plants to boost local humidity
- Prevent stagnant air by spacing plants properly
- Avoid placing your ZZ plant near sprays or harsh chemicals
Expert Tips for Long-Term ZZ Plant Success
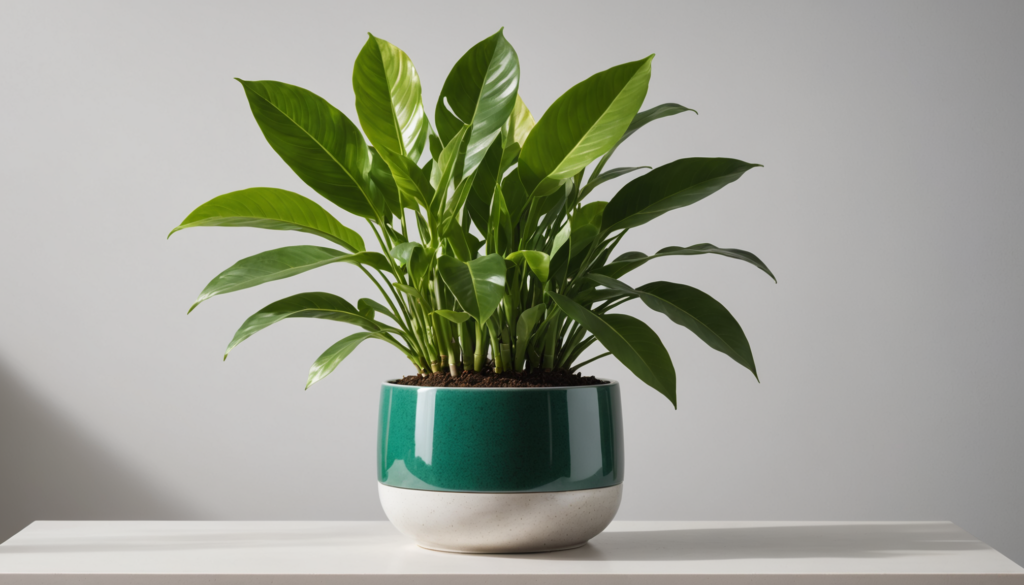
Consistent care helps ZZ plants avoid black leaves and other stress symptoms. This section offers practical guidance to keep these hardy houseplants vibrant all year.
Professional Growth Techniques
A well-draining mix supports the ZZ plant’s roots and prevents black spots. Combine two parts regular potting soil, one part perlite, and one part coarse sand for balanced moisture. Maintain temperatures between 65°F and 75°F to reduce fluctuation issues (Better Homes & Gardens).
Bright indirect light is ideal, though ZZ plants also tolerate low light. Place the plant away from direct sunlight to avoid scorching the leaves. Water only when the soil dries out completely between waterings to prevent overwatering and root rot.
Common Mistakes to Avoid
Overwatering remains the most frequent cause of ZZ plant leaves turning black. Pots without drainage holes trap excess water and lead to mushy stems. Heavy soils hold moisture and can trigger root rot. Avoid placing the plant in harsh sun to keep zz plants from developing discolored leaves.
Fertilize sparingly with a balanced houseplant fertilizer in spring and summer. Too much fertilizer creates salt build-up that may blacken the foliage. Gently wipe leaves with a damp cloth each month to remove dust and boost healthy growth.
Seasonal Maintenance Calendar
Adjusting care through each season ensures vibrant foliage. In spring, resume a consistent watering schedule and watch for new growth. During summer, inspect for pests weekly and protect from intense sun.
In fall, reduce watering frequency and stop fertilizing to let the plant rest. In winter, maintain a steady temperature and keep the environment tidy by removing any yellowing leaves. This seasonal approach helps avoid excess moisture and fosters a healthy, low-maintenance ZZ plant year after year.
Black leaves on ZZ plants often indicate problems with moisture, light, or temperature. I observe that most ZZ plants recover when these factors improve. This low-maintenance houseplant usually bounces back once excess water drains away, root rot is addressed, or harsh light is reduced.
Effective steps to prevent or handle black leaves include:
• Allow the top two inches of potting soil to dry before watering
• Use containers with drainage holes and well-draining soil to avoid excess moisture
• Keep the foliage in bright indirect light, away from direct sunlight that may scorch the leaves
• Maintain stable indoor temperatures around 65–75°F and monitor humidity
• Remove black or mushy stems and clean around the plant to discourage pests
I find that consistent watering schedules and regular checks help prevent overwatering. During the growing season, a balanced houseplant fertilizer keeps foliage vibrant. Slow, careful repotting into a slightly larger container can also lead to healthier root systems. Avoid cold drafts that blacken or weaken stems, and consider adding a pebble tray or humidifier if the air feels dry.
When ZZ plant leaves turn black, identifying the cause early shortens recovery time. Most plants thrive again once proper light, drainage, and watering frequency align with their tropical origins.
Conclusion
Taking care of your ZZ plant becomes much easier once you understand the common causes of black leaves. Proper watering habits and well-draining soil are key to preventing root rot and keeping your plant healthy. Remember that ZZ plants are drought-tolerant and prefer to dry out between waterings rather than sitting in wet soil.
Maintaining the right environment is just as important as proper watering. By providing bright indirect light, monitoring humidity levels, and protecting your ZZ plant from extreme temperature changes, you can help prevent leaf problems before they start. With these care tips and a watchful eye for early warning signs, your ZZ plant can thrive and remain a beautiful, low-maintenance addition to your indoor garden for years to come.
FAQs
1. Why are black leaves non-recoverable?
Once leaves blacken, healthy tissue cannot regenerate. Removing affected foliage helps prevent fungal spread to other parts of this hardy houseplant.
2. How should watering frequency change by season?
Most ZZ plants benefit from watering every 2-3 weeks in spring and summer. During cooler months, infrequent watering keeps soil from staying soggy. Soil dryness of the top 2-3 inches signals the next watering time.

